
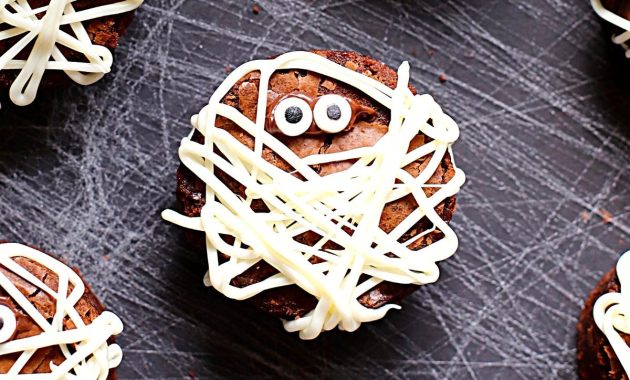
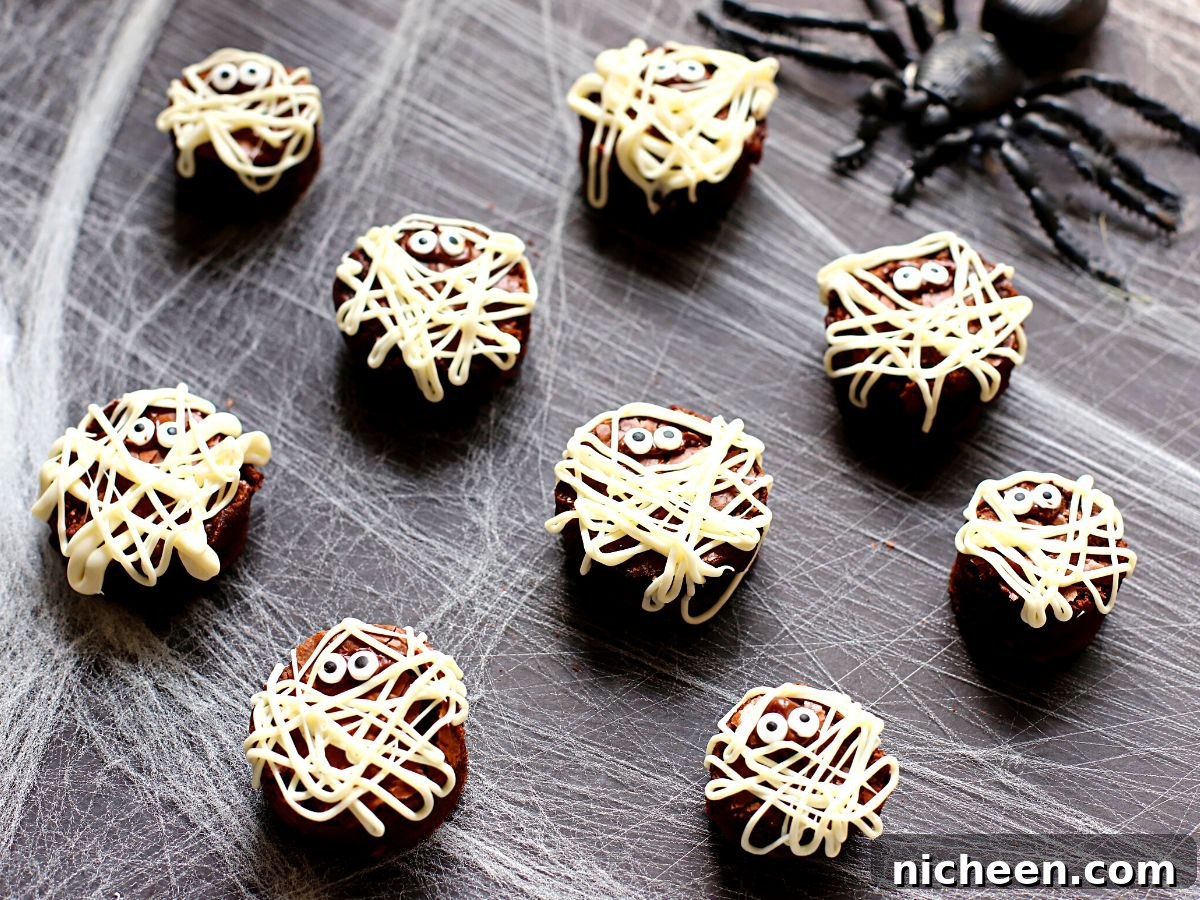
Enjoy a festive and delicious twist on brownies with this Easy Halloween Mummy Brownies Recipe. These fudgy chocolate bites are dressed up like tiny mummies—perfect for Halloween parties, school events, or a fun family treat. They’re simple to make, kid-friendly, and always a hit.
If you like themed treats, you might also enjoy other Halloween ideas such as spider brownies, Oreo mummy pops, or simple bat treats. These mummy brownies are an especially quick option when you need something cute and make-ahead.
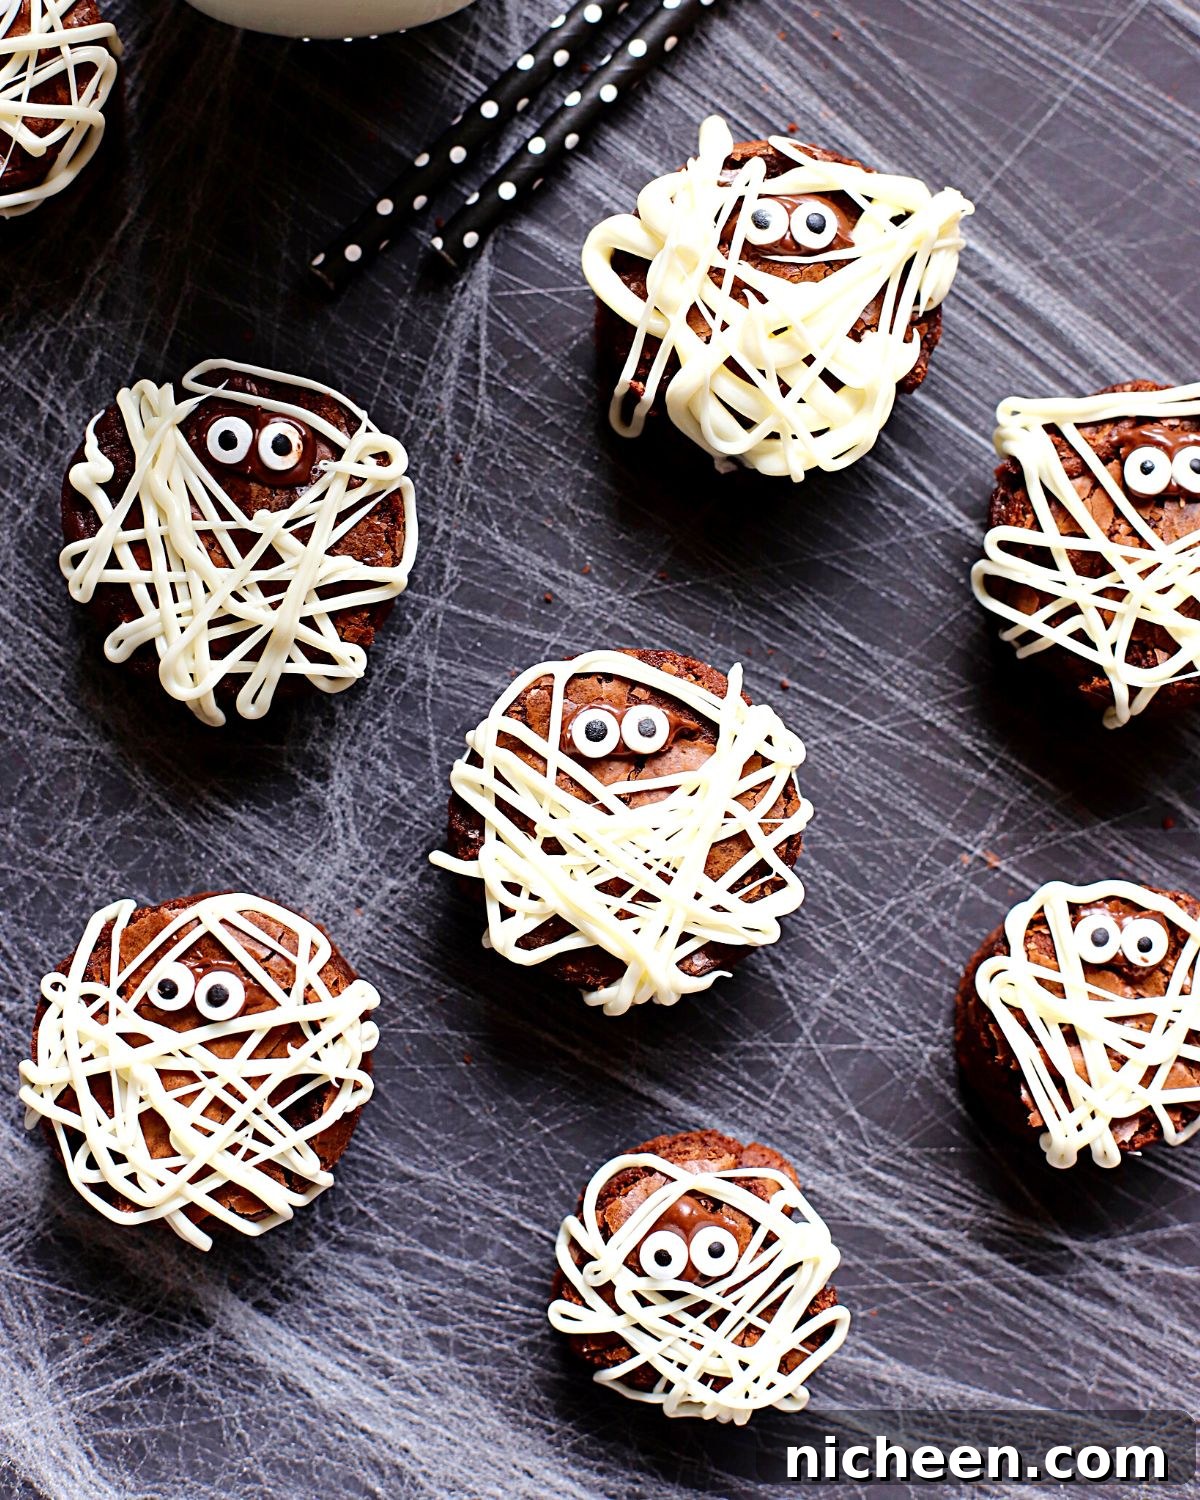
These little mummified brownie bites are irresistibly adorable and full of chocolatey flavor. The recipe works whether you use a boxed mix or make brownies from scratch—either way you’ll end up with chewy, fudgy centers perfect for decorating.
Why Make These Halloween Brownies
- Easy and fast: Decorating is minimal and ideal for last-minute party food.
- Kid-friendly: Children can help place the eyes and pipe the “bandages.”
- Delicious texture: The brownies are fudgy and rich, a crowd-pleasing base for cute decorations.

Brownie Base
You can make the brownies from your favorite scratch recipe or use a boxed mix for convenience. For the best fudgy texture, try a dark chocolate brownie recipe and be sure the pan is completely cooled before cutting and decorating.
Brownie Ingredients (for 8×8 pan)
- 1 2/3 cups (10-oz) dark chocolate morsels, divided
- 1 cup granulated sugar
- 1/3 cup butter, cut into pieces
- 2 tablespoons water
- 2 large eggs
- 1 teaspoon pure vanilla extract
- 3/4 cup all-purpose flour
- 1/4 teaspoon salt
Brownie Instructions
- Preheat oven to 325°F (163°C). Grease an 8×8-inch pan or line with parchment.
- Reserve 1/3 cup chocolate morsels for folding in later. In a small saucepan over low heat, melt 1 1/3 cups morsels with the sugar, butter, and water, stirring constantly until smooth.
- Pour the melted mixture into a bowl and let cool briefly. Whisk in eggs one at a time until blended, then stir in vanilla.
- Stir in flour and salt with a wooden spoon until combined. Fold in the reserved morsels and pour into the prepared pan.
- Bake 30–35 minutes, or until a wooden pick inserted in the center comes out slightly sticky. Cool completely in the pan on a wire rack, then cut into rounds.
How to Make the Mummy Brownies
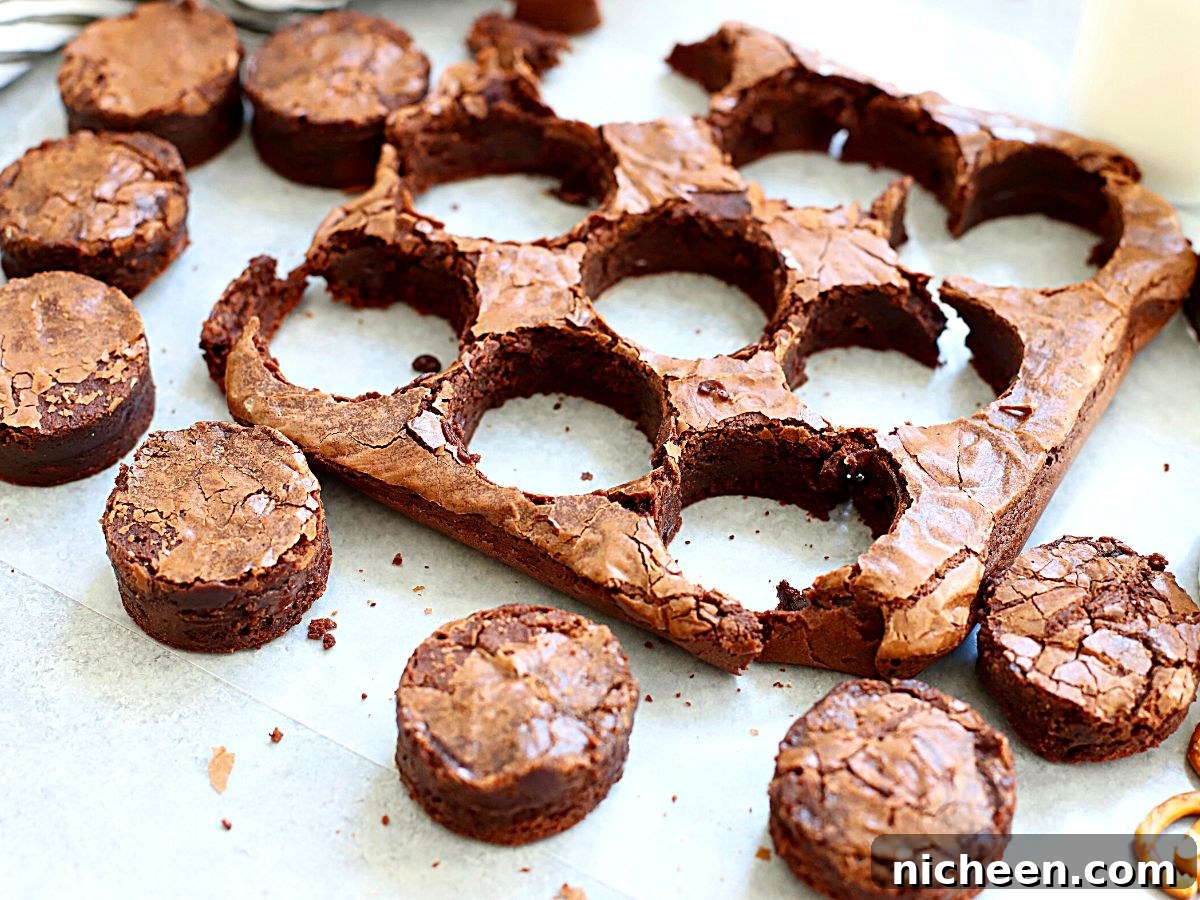
1. Cut circles: Use a 1.5-inch biscuit or round cookie cutter to cut rounds from the cooled brownies. From an 8×8 pan you’ll usually get about nine rounds. Alternatively, bake brownies in a muffin or mini cupcake pan to form rounds directly.
2. Attach candy eyes: Melt a few white chocolate chips and use a toothpick to dab a small dot of melted chocolate on the back of each candy eye. Press two eyes near the top center of each brownie round and allow the “glue” to set.
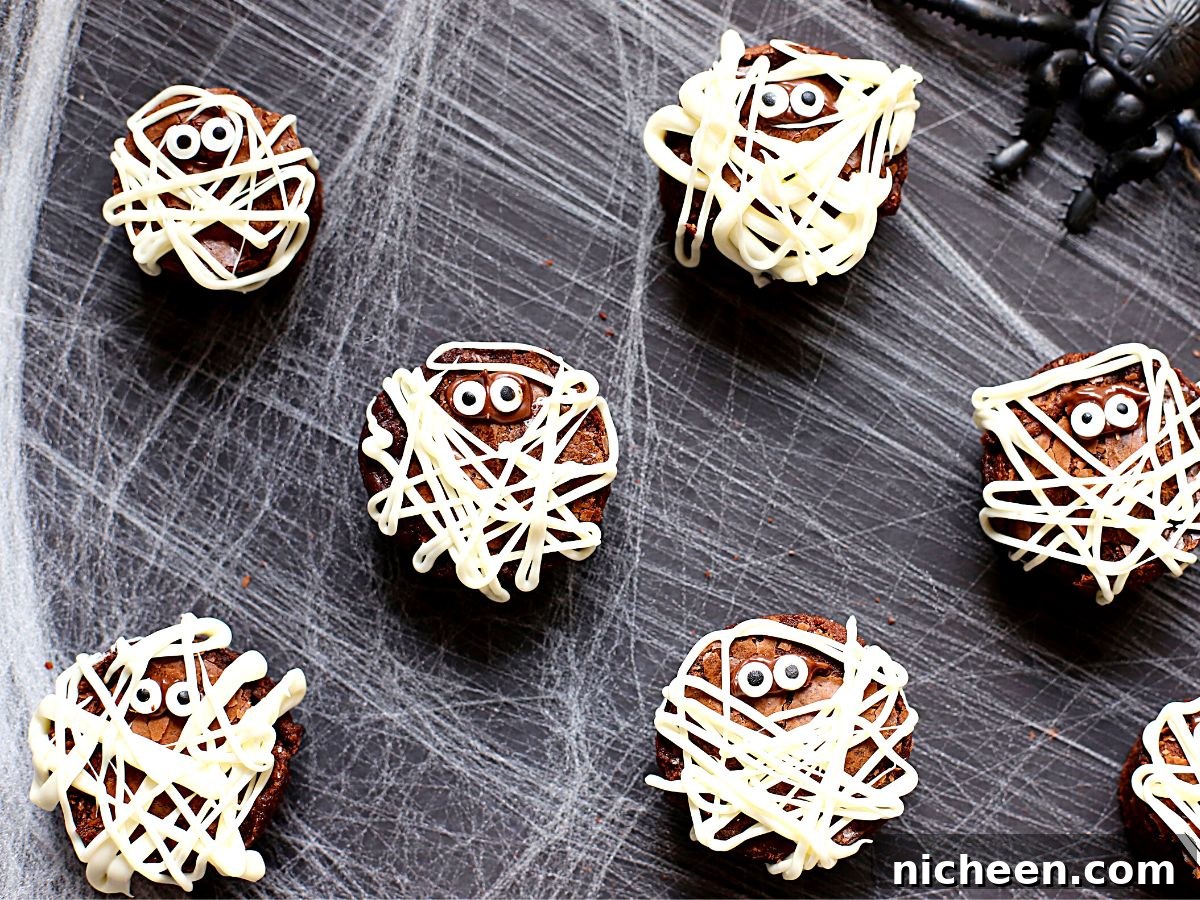
3. Pipe bandages: Melt white chocolate chips or candy melts until smooth. Transfer to a small plastic bag, snip a tiny corner, and pipe zig-zag lines across each brownie to resemble mummy bandages. Leave the eyes visible. Let the chocolate harden before serving.
Tips & Tricks
- Bandage options: Use candy melts, white chocolate chips, or even cream cheese frosting for the mummy wrapping.
- Colorful mummies: Stir a bit of orange or green food coloring into white chocolate for festive color.
- Make ahead: Brownies can be baked and cooled ahead of time; decorate the same day you plan to serve.
- Freezing: Flash-freeze individual decorated brownies on a sheet, then store in an airtight container with parchment between layers. Freeze up to three months; thaw overnight in the refrigerator or a few hours at room temperature.
- Gluten-free: Use a gluten-free brownie mix or a gluten-free scratch recipe if needed.
Supplies
- 1 pan of baked brownies (8×8)
- 1/2 cup white chocolate chips or candy melts, melted
- About 18 candy eyeballs
- Biscuit or cookie cutter (1.5 inch suggested)
- Plastic bag or piping bag and a toothpick
Storage
- Store decorated mummy brownies in an airtight container at room temperature for up to 5 days.
- For longer storage, follow the freezing instructions above.
Notes
Mummy bandages: Candy melts, white chocolate chips, or cream cheese frosting all work well. If you want a playful look, tint the white coating with a few drops of food coloring before piping.
These mummy brownies make a charming addition to any Halloween spread and are great for parties because they’re easy to prepare in advance and transport.
Recipe FAQs
What size cutter should I use? A 1.5-inch round biscuit or cookie cutter produces perfectly sized mummy brownie rounds.
Can I make square or rectangular mummies? Yes — leave brownies in squares or rectangles if you prefer; decorate them the same way with eyes and piped bandages.
Final Thoughts
These Halloween mummy brownies are a quick, festive treat that combines classic fudgy brownies with simple decorations for big seasonal appeal. Whether you’re feeding a crowd or looking for a fun project with kids, this recipe is flexible, easy to adapt, and reliably delicious.
This post contains affiliate links and disclosures as appropriate. If you make this recipe, enjoy sharing photos and memories with family and friends!