
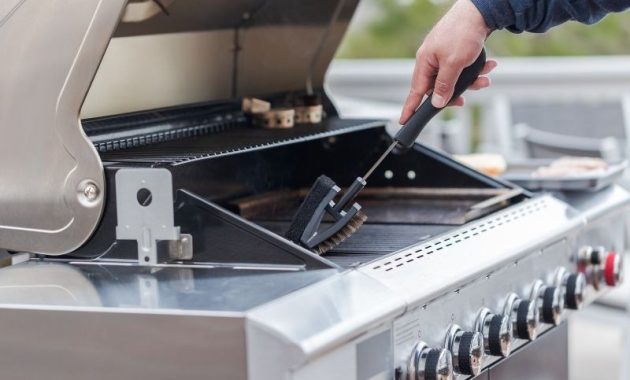
The secrets to cleaning your grill for better-tasting food and longer grill life, with simple, step-by-step instructions you can follow at home.
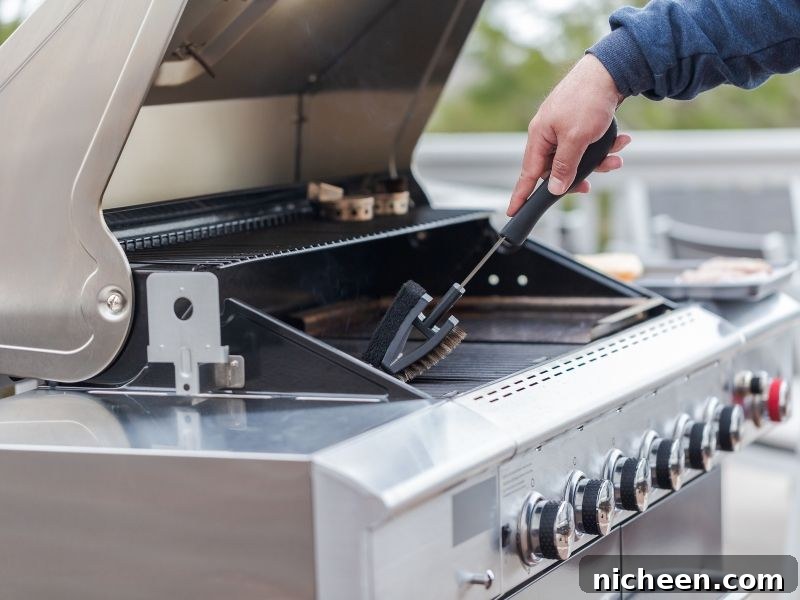
Keeping your grill clean after each use is just as important as washing your pots and pans in the kitchen. Regular cleaning prevents flare-ups, removes old grease that can create unpleasant smoke and off flavors, and helps your grill perform reliably for years. Below are practical, easy-to-follow methods for both quick maintenance and deeper seasonal cleaning.
Start with an easy routine after every cookout: once you remove the food, close the lid and let the grill run on high for about fifteen minutes. The high heat burns off a lot of residual grease and char, loosening debris and making the rest of the job much easier.
While the grates are still warm, use a sturdy grill brush or a no-scratch scrubber to sweep away leftover particles. This simple step prevents food from sticking and reduces buildup that can affect flavor. Doing this after each use keeps your cooking surface ready for the next meal.
If you prefer a natural option for quick grate cleaning, try this: spray the warm grates lightly with white vinegar or lemon juice, and, using tongs to protect your hands, rub the grates firmly with half an onion, cut side down. The acidity helps break down grease and the onion’s natural moisture loosens residue.
Deep cleaning should be done a few times throughout the grilling season, or more frequently if you grill often. The steps below cover both charcoal and gas grills, helping you protect both performance and flavor.
Related: Grilled Pesto Shrimp — a great recipe to try after you finish cleaning and re-seasoning your grill.
How to Clean a Charcoal Grill
Some people think charcoal grills don’t need frequent cleaning because ash catches at the bottom, but ash and trapped food particles left behind will eventually cause excess smoke and unpleasant tastes. Regular cleaning prevents these problems and keeps your grill safe to use.
If your grill’s exterior or interior surfaces are painted, coated, or aluminum, avoid abrasive cleaners and metal scrubbers that can scratch or damage finishes. Instead, use mild dish soap, warm water, and plastic or nylon scrubbers designed to clean without scratching.
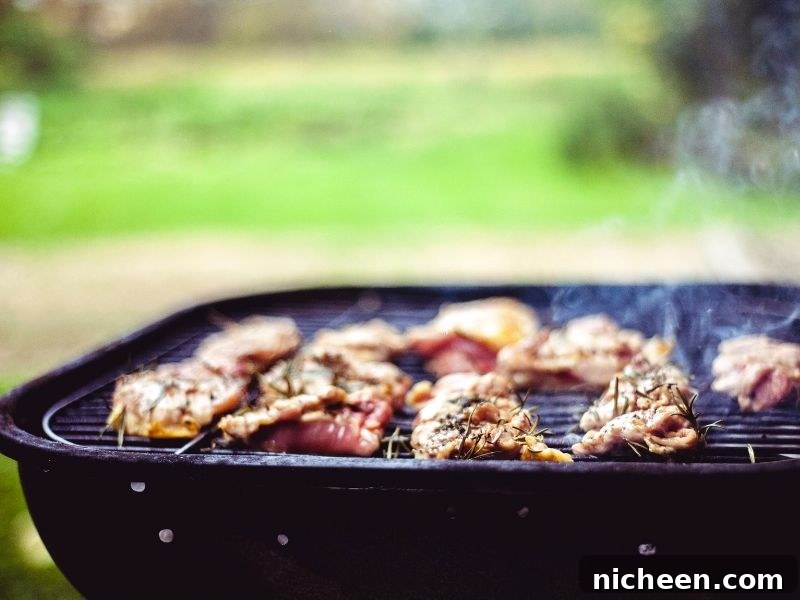
Step 1 – Clean the Grates
Take the grates out of the grill and spray or coat them with a household oven cleaner, then place them into a heavy-duty plastic bag to let the cleaner work. Let them soak for several hours or overnight. After soaking, use a metal scouring pad or a stiff brush suitable for grill grates to scrub away remaining buildup. Rinse thoroughly to remove any cleaner residue.
Tip: Make sure you rinse the grates completely so no oven cleaner remains. Residue can affect food flavor and safety.
Step 2 – Clean the Inside & Outside
Empty ash and loose debris from the bottom of the grill. Clean the inside and outside surfaces with hot, soapy water and a stiff brush or non-scratch scouring pad. Scrape stubborn spots gently, then rinse with a garden hose and allow the grill to dry thoroughly before reassembling.
Step 3 – Replace the Grates
Once everything is dry, return the grates to the grill. Wipe them lightly with a paper towel dipped in a little cooking oil to help prevent rust and keep food from sticking during the next use.
How to Clean a Gas Grill
Important: Before you begin any gas grill cleaning, turn off the gas supply and follow the manufacturer’s safety instructions.
For natural gas systems, shut off the gas supply and open the burners and valves for several minutes to purge remaining gas. For propane grills, disconnect the tank and open the valves for a short period before proceeding, then work only when you are sure the system is depressurized.
Many gas grills include aluminum components or delicate finishes, so avoid abrasive cleaners and metal brushes on those surfaces. Use soft brushes and non-scratch scrubbers designed for grill cleaning.
Step 1 – Soak Grates and Burner Covers
Remove grates and burner covers and place them in a heavy plastic bag. Adding a small amount of household ammonia and leaving the bag in the sun for a day helps loosen built-up grease—when you open the bag later, much of the grime should hose away easily. After hosing, scrub any remaining spots, rinse, and set pieces out to dry.
Note: Clean grates prevent food from sticking and reduce flare-ups, making grilling easier and more enjoyable.
Step 2 – Remove Loose Debris
Use a soft wire brush or a nylon brush to sweep loose particles from the lid and interior sides. Clean tight spaces around burners with a toothpick or a small brush, and use a shop vacuum to remove ash and dislodged debris for a thorough interior cleaning.
Step 3 – Clean Sear Plates and Drip Pans
Remove sear plates and the drip pan, scraping away buildup with a putty knife or plastic scraper. If your grill uses lava rocks, soak them along with sear plates and drip pans so grease breaks down and they can be rinsed clean.
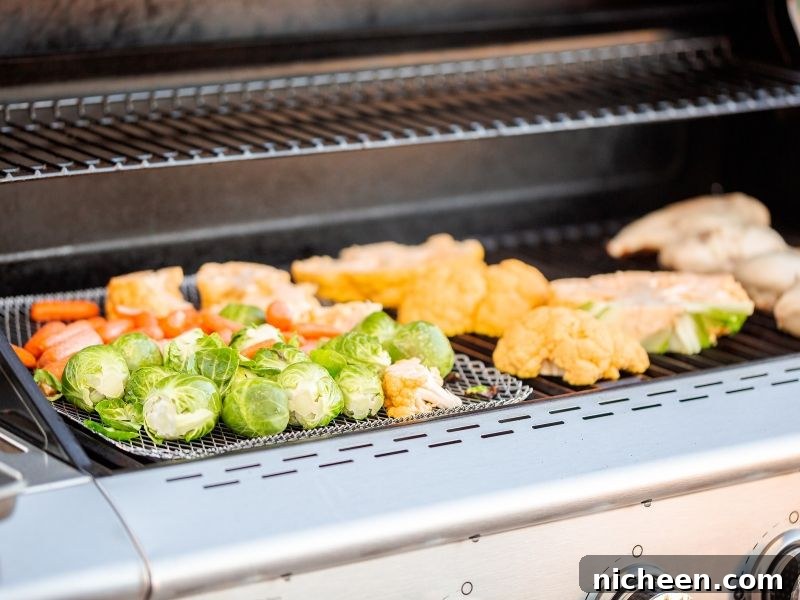
Step 4 – Deep Clean the Interior
Prepare a cleaning solution of about one gallon of hot water, one teaspoon of dishwashing detergent, and one cup of distilled white vinegar. Spray or apply the solution to the grill’s interior and scrub with a brush to remove grease and grime. Rinse thoroughly and wipe down until no soap remains.
Step 5 – Inspect Burners
Check all burner holes and ports for clogs and clear any obstructions with a soft brush or a small tool recommended by the manufacturer. Ensuring burners are clean helps maintain even flames and consistent heat.
Step 6 – Dry and Reassemble
Thoroughly dry all parts before replacing them. Once the grates are back in place, wipe them with a paper towel lightly coated with cooking oil to protect against rust and reduce sticking.
Step 7 – Clean the Exterior
Finish by washing the grill’s exterior with hot, soapy water, rinsing, and drying. For stainless steel surfaces, wipe in the direction of the grain to maintain the finish.
Treat your grill with the same care you give your stove: regular maintenance improves flavor, reduces risk, and extends the life of your equipment. Covering your grill when not in use and storing propane tanks safely also help protect it between seasons.
Want better grilling results? Learn tips for keeping meat moist and flavorful while you cook—clean equipment and proper technique go hand in hand.
FOLLOW US on social platforms for more recipes, home tips, and DIY ideas: FACEBOOK, TWITTER, INSTAGRAM, PINTEREST.