
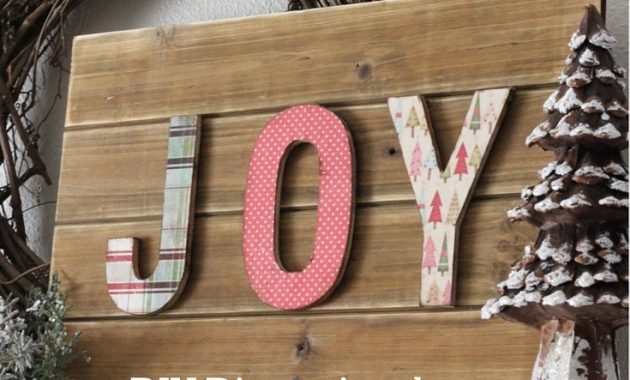
This DIY Dimensional Letter Holiday Sign is simple to make and brings a warm, rustic touch to your Christmas decor. It’s budget-friendly, customizable, and a great weekend craft for holiday decorating.
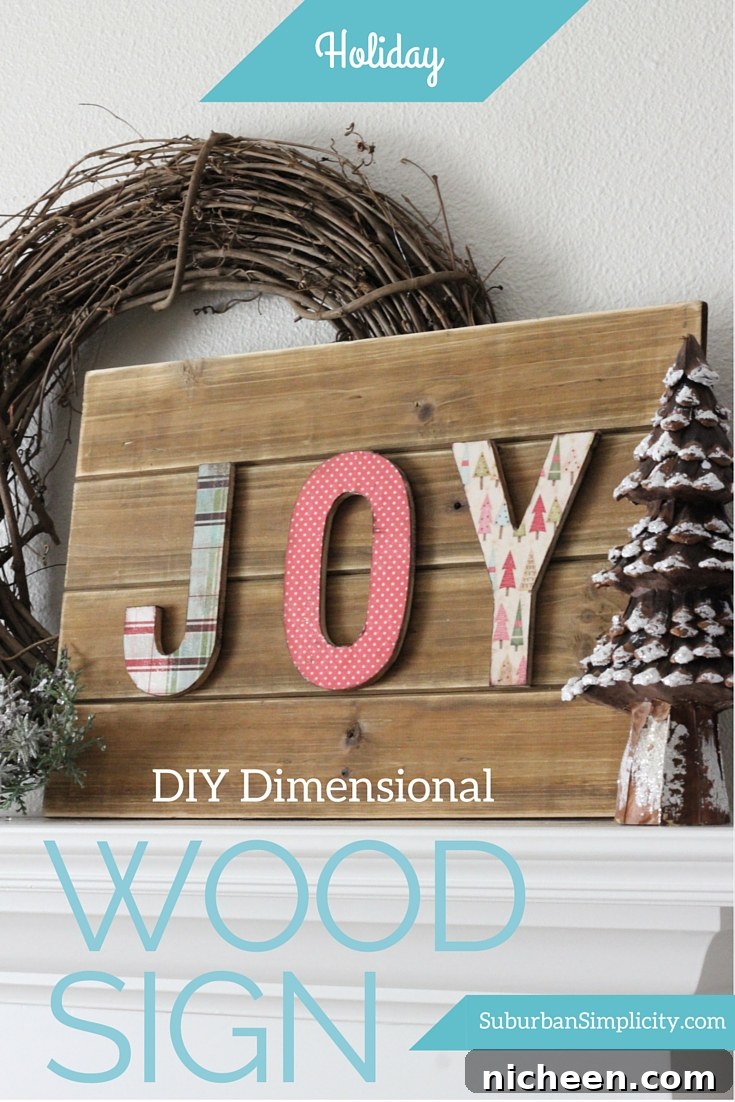
How to Make a Dimensional Letter Holiday Sign
Create a handmade “JOY” sign or any other short word for a personalized seasonal accent. This tutorial covers materials, step-by-step instructions, finishing tips, and simple variations so you can tailor the sign to your style—whether modern farmhouse, traditional, or colorful and bright. Because the supplies are minimal, it’s an easy and affordable project that still looks professional when finished.
Choose scrapbook paper or patterned cardstock that fits your color palette. You can also recycle holiday greeting cards or use textured papers for a more tactile, layered look. The dimensional letters give the sign depth and presence, making it a focal point on a mantel, entry table, or front porch display.
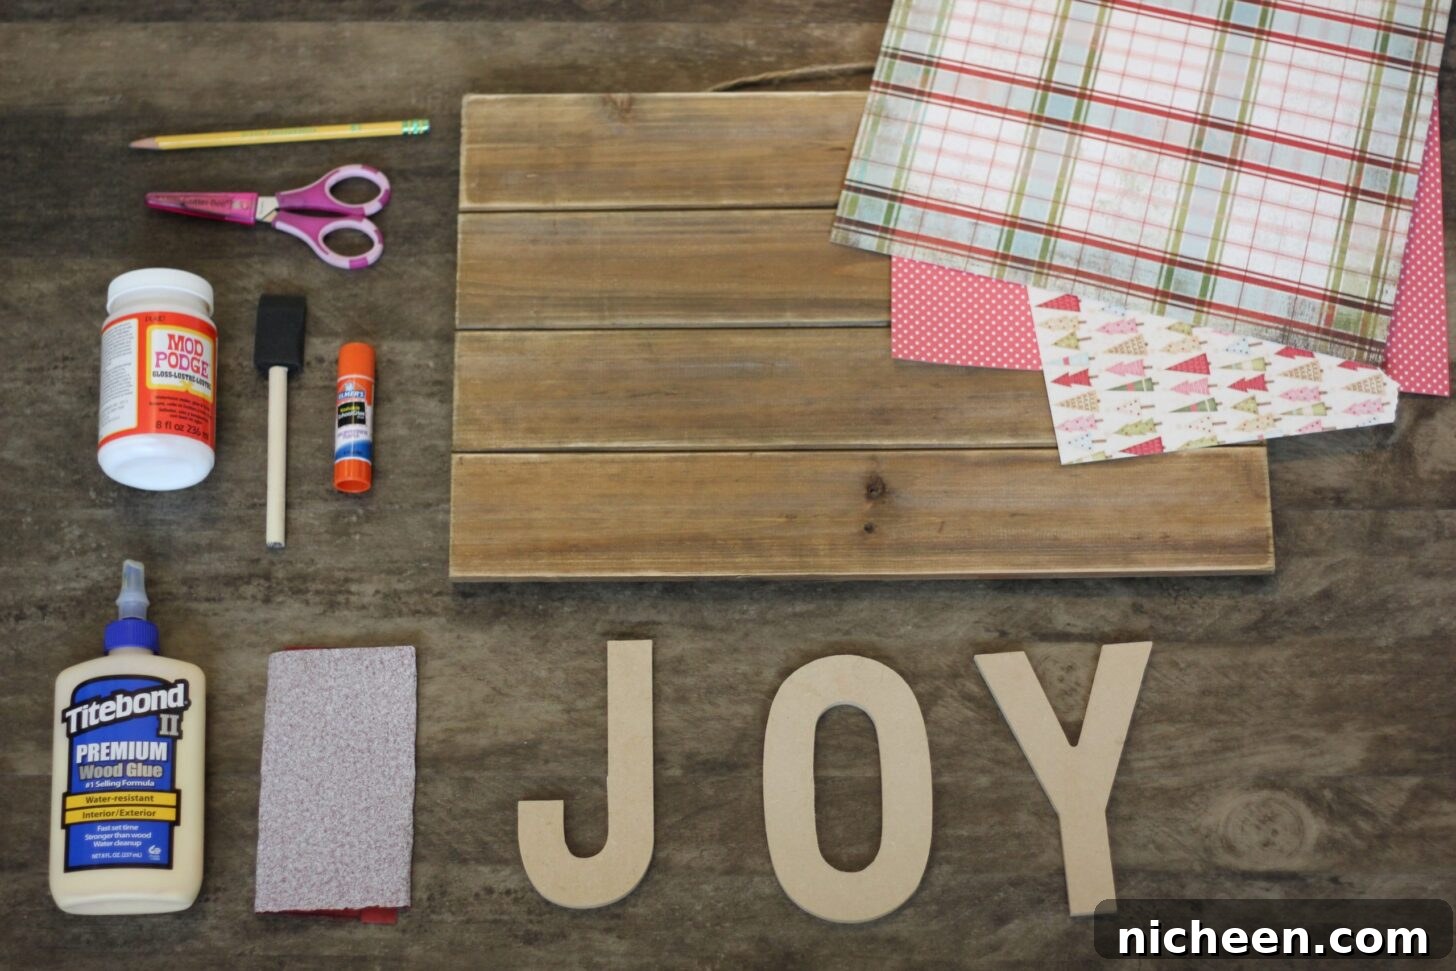
JOY Holiday Sign Supplies:
- Wood sign (premade or built from pallet wood; a 17″ board works well)
- Dimensional letters (wood, chipboard, or thick cardboard)
- Scrapbook paper or lightweight patterned cardstock
- Wood glue or strong craft adhesive
- Scissors and a sharp craft knife for precise cuts
- Pencil for tracing
- Fine and medium grit sandpaper
- Mod Podge or clear sealer
- Small brush for sealer application
- Glue stick for temporary positioning (optional)
Step 1 – Prep the Wood
Lightly sand the wood sign to remove any rough spots and to help paint or sealer adhere better. If you prefer a distressed look, sand more aggressively along edges and corners. If the sign already has a finish you like, you can skip sanding.
Step 2 – Cut and Attach Paper to Letters
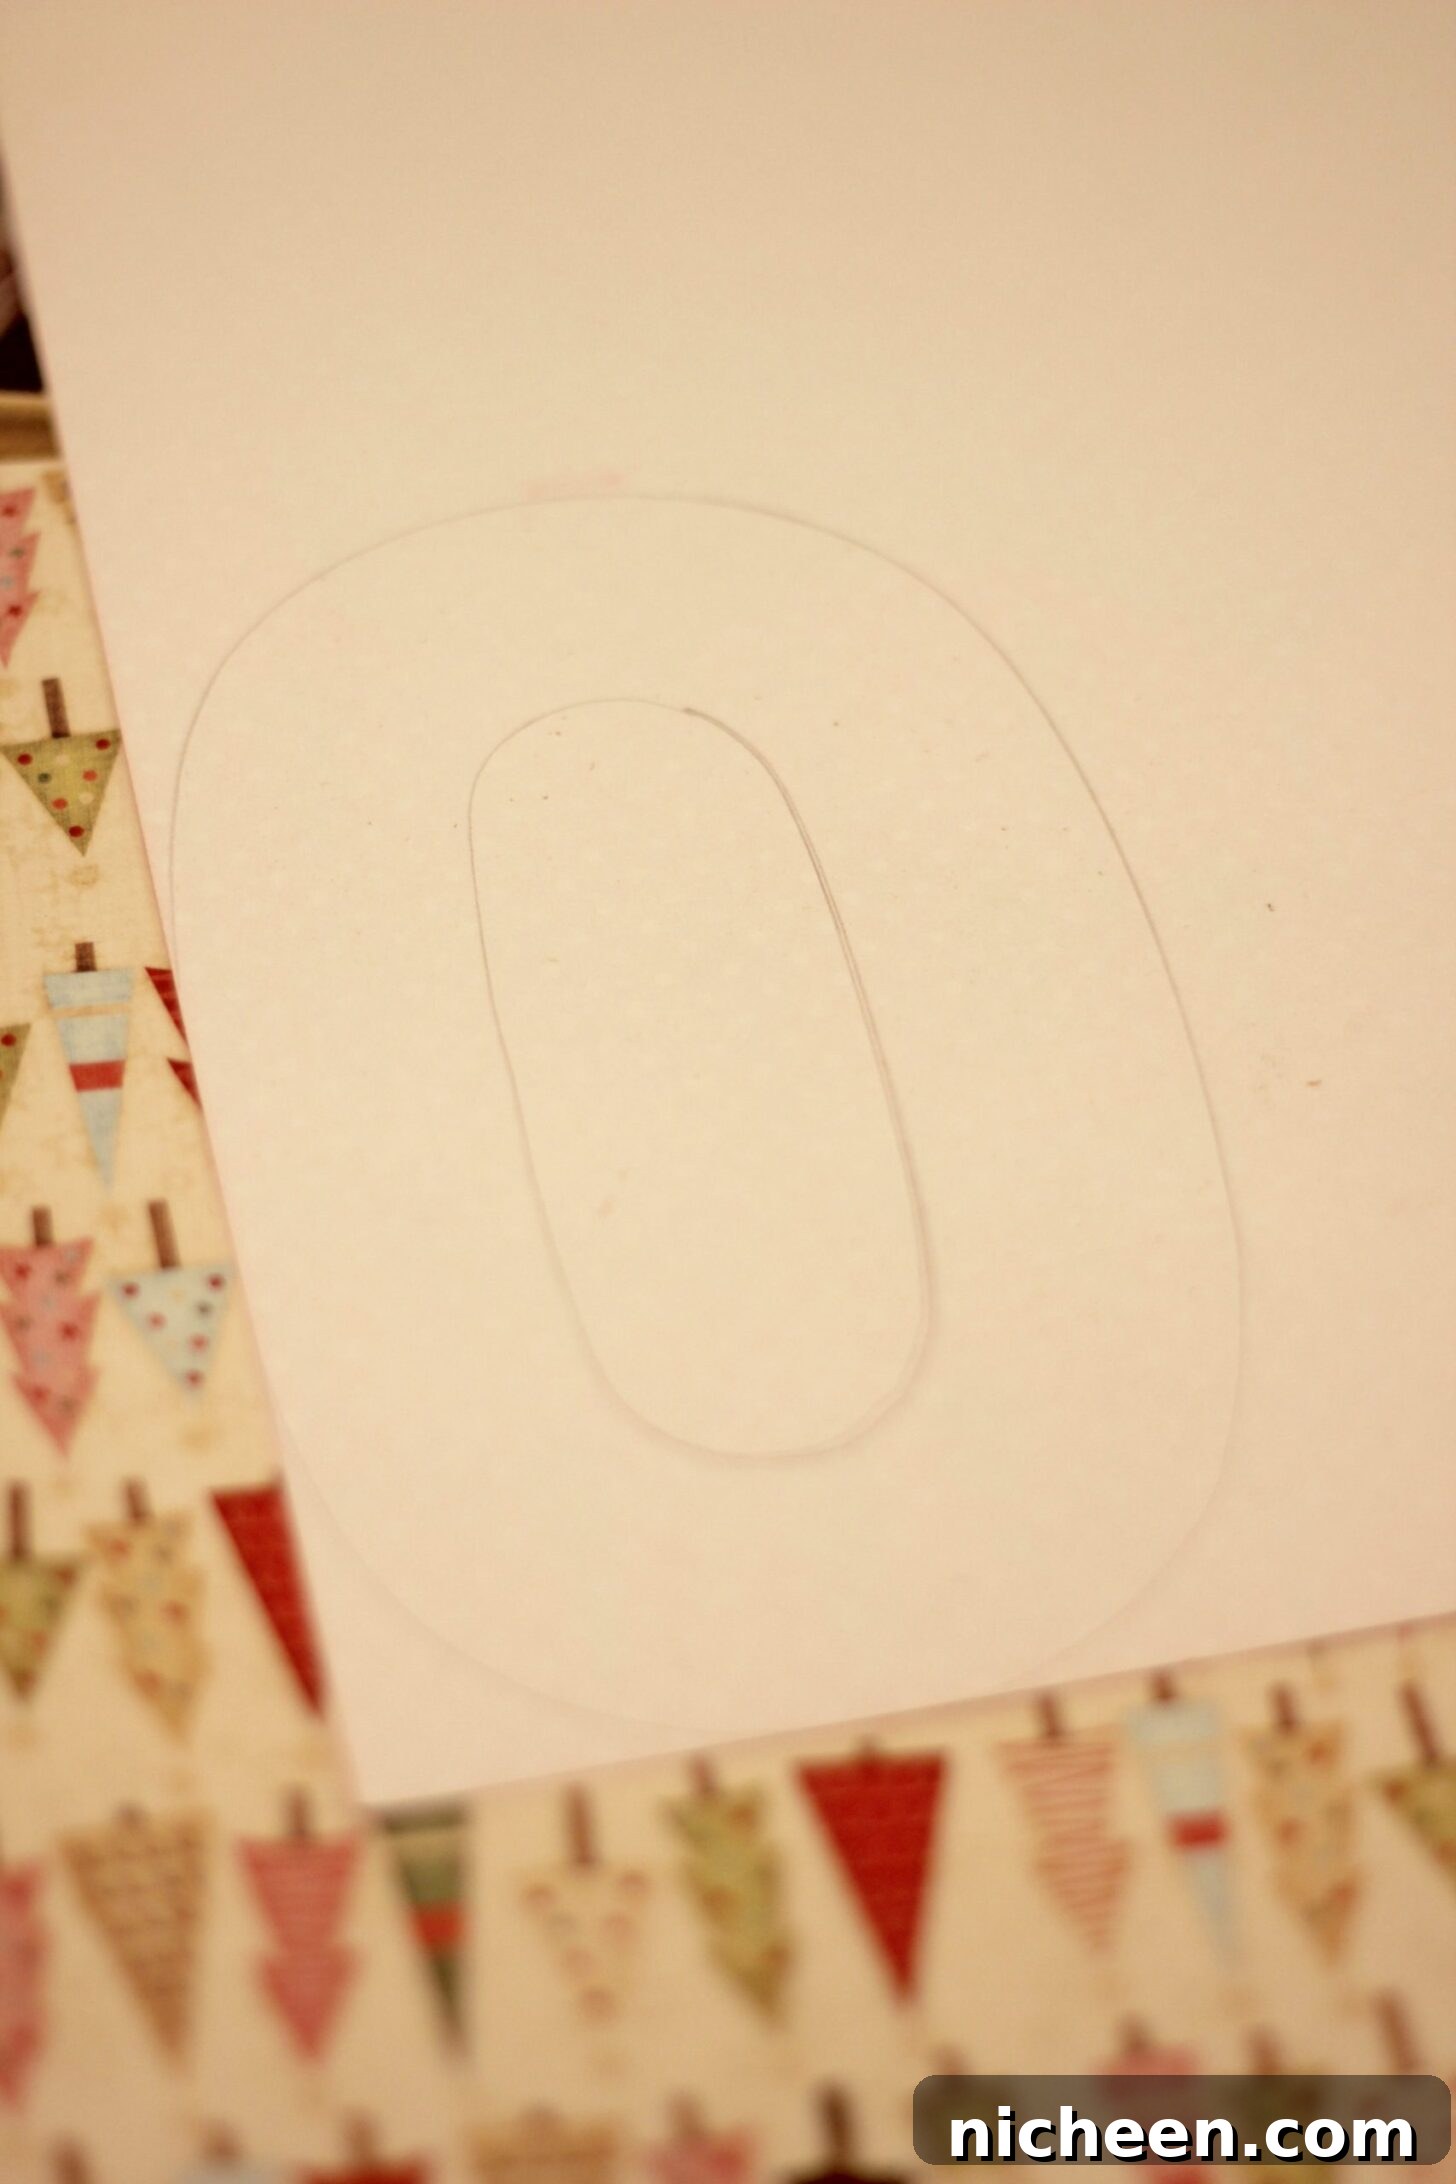
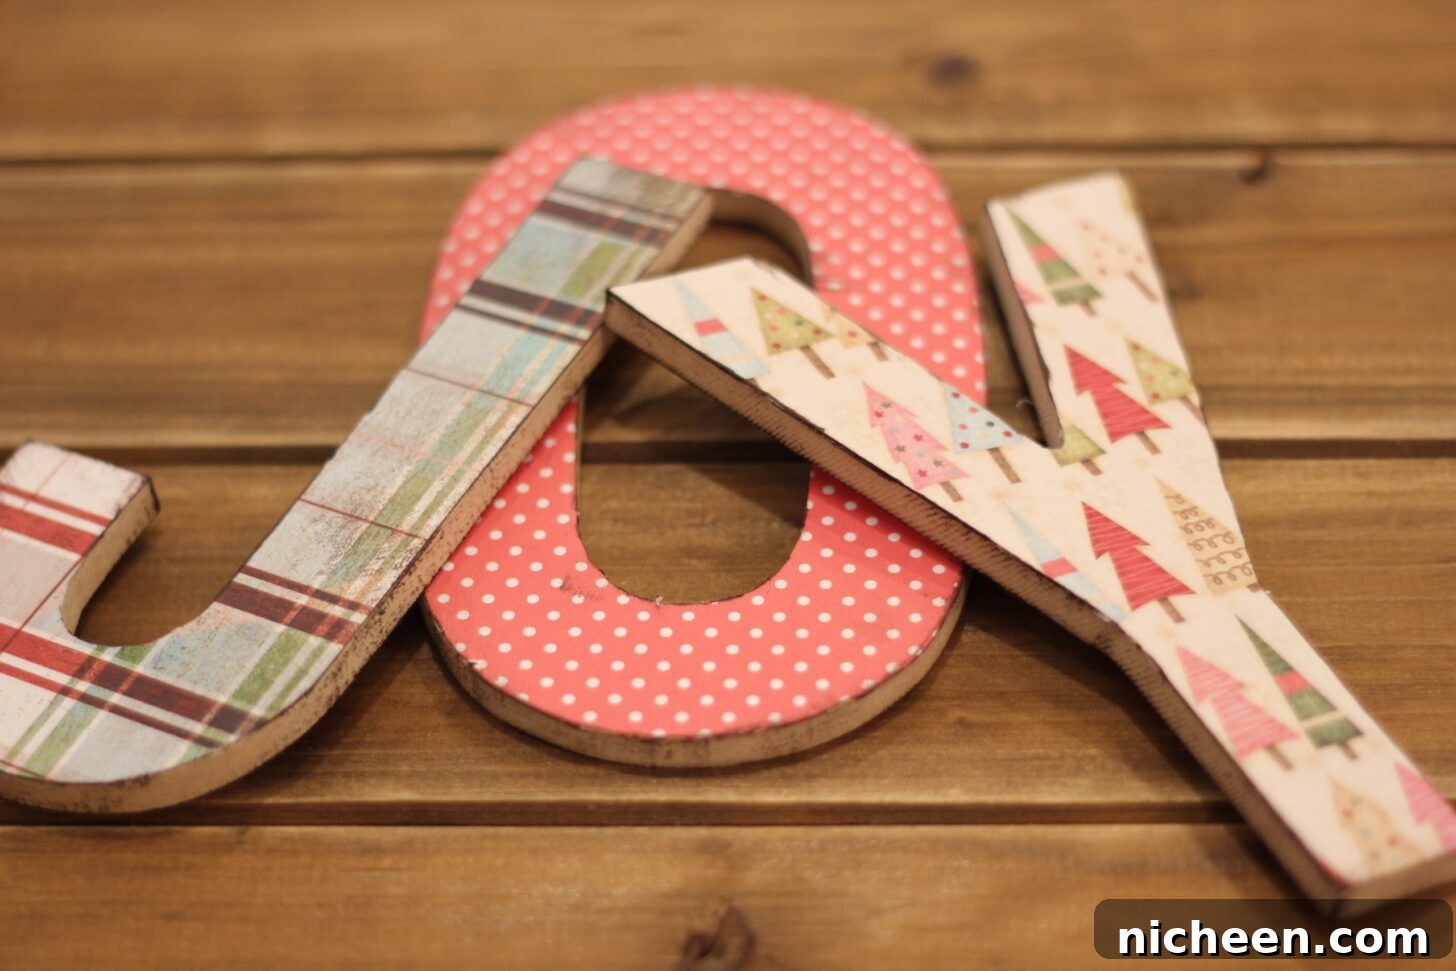
Trace each dimensional letter onto your scrapbook paper with a pencil, then carefully cut the shapes out. Use a glue stick or a thin layer of Mod Podge to adhere the paper to each letter. Take time to match patterns or orient designs consistently across letters for a cohesive look.
Step 3 – Seal the Letters
Apply two to three thin coats of Mod Podge or a similar water-based sealer to protect the paper and give the letters a uniform finish. Allow about 10–15 minutes drying time between coats. After the final coat dries, lightly sand the edges to smooth any raised paper fibers and to create a slightly worn, handcrafted appearance if desired.
Step 4 – Attach Letters to the Sign
Arrange the letters on the wood sign until you’re happy with spacing and alignment. Use a pencil to mark placement if needed. Apply wood glue or strong craft adhesive to the back of each letter and press firmly onto the board. Use clamps or a heavy book to hold letters in place while the glue cures for a secure bond.
Step 5 – Final Touches and Embellishments
After the glue has fully dried, add optional embellishments such as a light dusting of glitter, a few small pine sprigs, jute twine, or tiny wood beads for extra charm. Keep embellishments minimal to maintain the sign’s rustic appeal. If you want a more weathered finish, sand the edges of the letters slightly after adhering them.
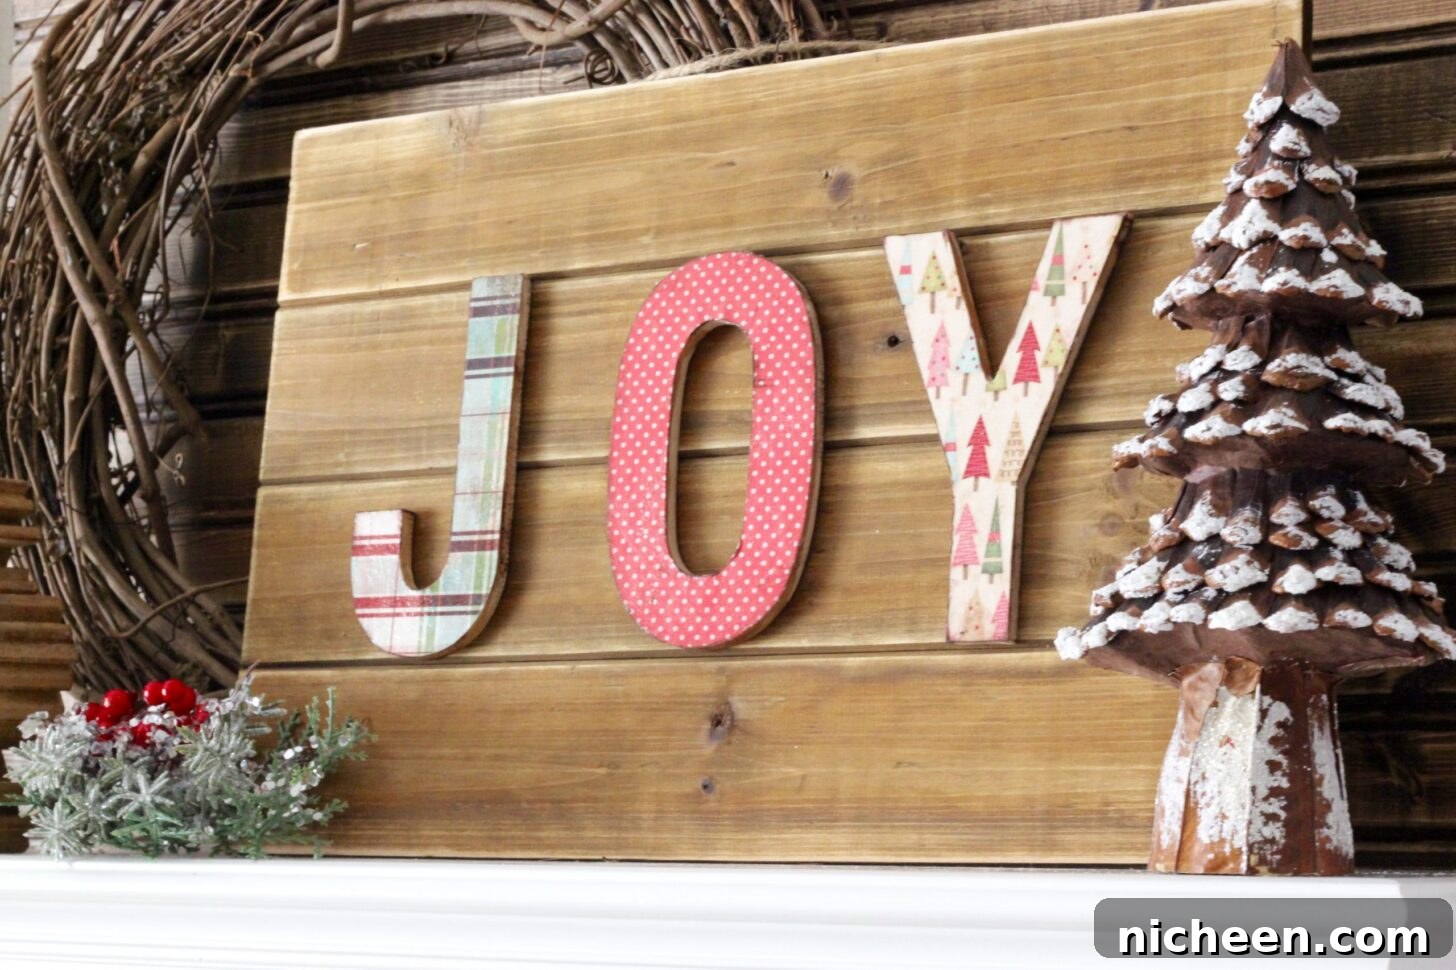
Once complete, display your dimensional letter holiday sign on a mantel, entry table, shelf, or lean it against a gallery wall for seasonal flair. If you plan to use it outdoors, choose weather-resistant materials and apply an exterior-grade sealer to protect the paper and wood from moisture.
Variations to try: paint the letters with chalk paint for a matte finish, use metallic paper for a festive shine, or create a set of signs spelling different seasonal words like “NOEL”, “MERRY”, or family names. This project is forgiving—if a letter placement isn’t perfect, you can gently remove it, reapply glue, and reposition before the adhesive sets.
Tips for a Professional Result
- Work on a clean, flat surface and protect your workspace with craft paper or a drop cloth.
- Trim paper slightly oversize and then sand edges after sealing for crisp, clean corners.
- Use a clear-drying glue to avoid visible residue between layers.
- Test the Mod Podge on a scrap of paper to check for any change in color or finish before applying to the letters.
You May Also Like:
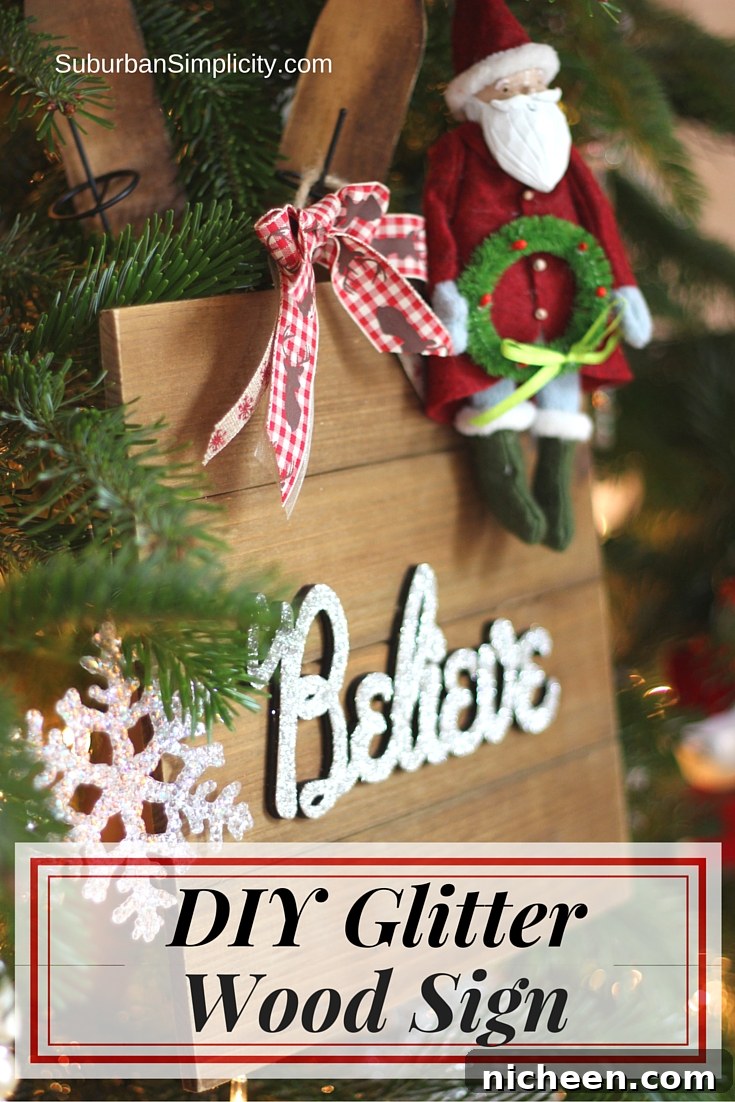
If you make this sign, consider sharing a photo of your finished piece and any creative twists you added. Small details like patterned paper choices, edge distressing, or added greenery can change the look significantly and make the sign uniquely yours.