
Create an easy, elegant DIY glitter wood sign for the holidays. This simple project lets you customize seasonal decor with a sparkling accent that looks great on a mantel, shelf, door, or even the tree. It’s quick to make, low-cost, and perfect for adding a touch of glam to rustic wood pieces without being over the top.
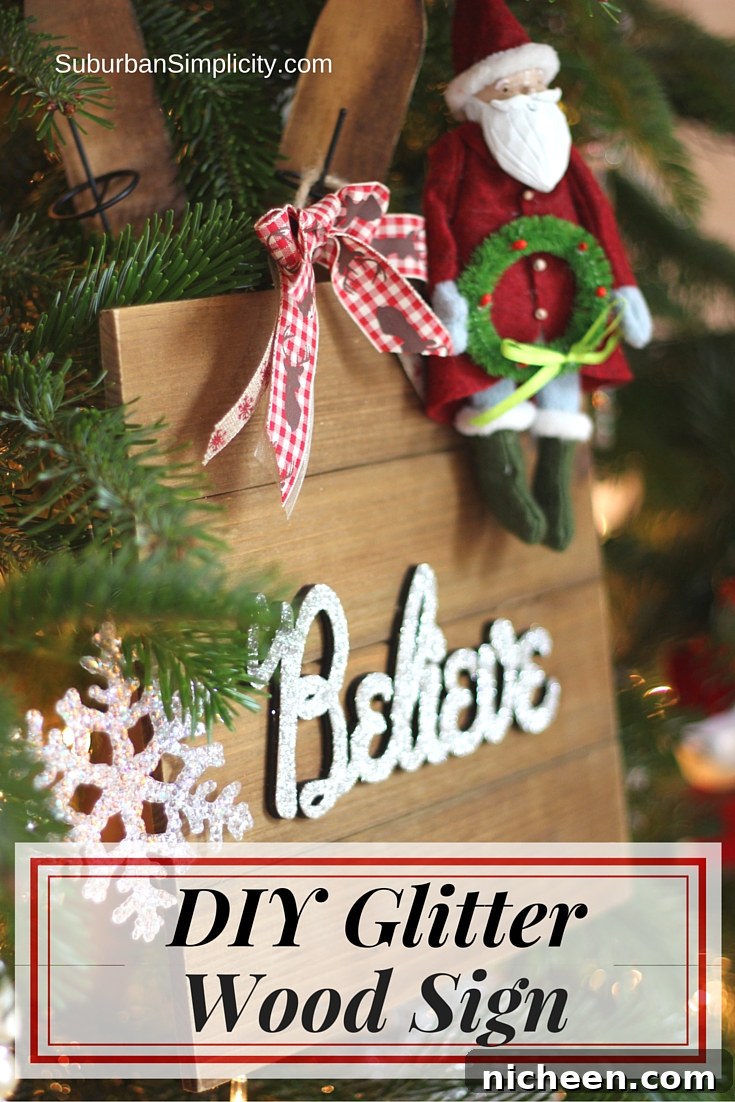
Looking for a quick DIY sign to make this holiday season? This glitter wood sign is ideal. The combination of natural wood texture and a glittered, laser-cut word creates an attractive contrast that works with many decorating styles. Best of all, the project takes about 15 minutes from start to finish, leaving you plenty of time to enjoy a warm cup of cocoa.
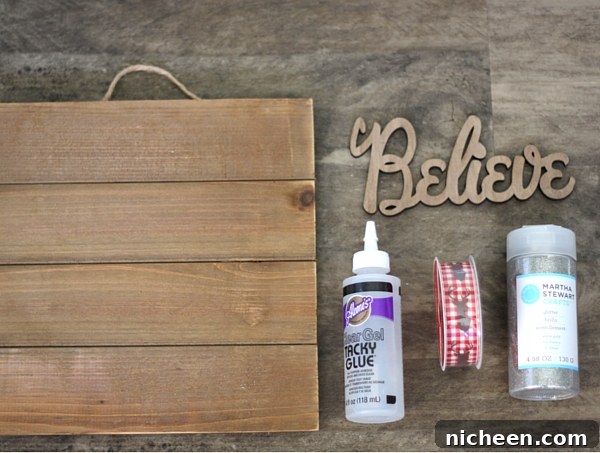
Most materials for this project are easy to find at craft stores or online retailers. Pre-made wood signs make the process even simpler—pick a size that complements the word you plan to use and match the style to your home decor for a cohesive look.
Materials needed
Gather these basic supplies before you begin. Choose finishes and colors that suit your holiday palette.
- Wood sign (select a size appropriate for your word)
- Glitter (choose a color and particle size you like)
- Adhesive or craft glue for applying glitter
- Wood glue for attaching the word to the sign
- Laser-cut word or cutout (wood or sturdy cardstock)
- Ribbon for hanging or embellishment (optional)
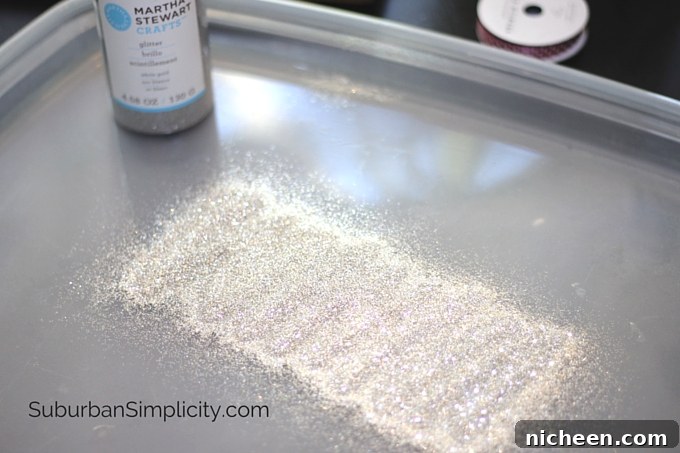
TIP – Use a shallow container or lid to hold glitter while you work so it doesn’t spread across your workspace. A plastic lid with slightly raised edges works well and helps catch excess glitter for reuse.
Erin
Step By Step Instructions
Step 1 – Prepare your work area. Lay down a protective layer such as parchment paper or a craft mat. Pour a generous strip of glitter into a shallow container or directly onto the protective surface in a length about equal to your word.
Step 2 – Apply adhesive to the front surface of the laser-cut word. Use a thin, even coat so the glitter adheres well and the word’s details remain visible. A small brush or foam applicator helps control the glue application.
Step 3 – Press the glued side of the word into the glitter. Turn it gently to ensure all edges and surfaces are covered. If any spots remain bare, pinch a little glitter and place it where needed. Shake off excess glitter back into the container and allow the piece to dry completely.
Step 4 – Once the glittered word is fully dry, apply wood glue to the back of the word and press it firmly onto the wood sign. Hold in place for a moment or use clamps or painter’s tape to secure it while the glue sets.
Step 5 – Add finishing touches and embellishments. A small bow, a sprig of greenery, or a simple ribbon loop can enhance the sign without overwhelming the glittered word. Choose colors and textures that complement the sign and the surrounding decor.
This project scales easily: make small signs as tree ornaments, medium signs for mantels and shelves, or larger pieces for doors and entryways. You can experiment with different word choices—such as “Joy,” “Noel,” “Believe,” or family names—to create a set of coordinated pieces for holiday decorating or gift-giving.
Maintenance is simple: avoid excessive handling and keep the signs indoors or in covered areas to preserve the glitter finish. If glitter sheds slightly over time, use a fine brush to press loose particles back into place and add a touch of clear-drying glue to secure them.
Enjoy crafting this quick, festive accent and personalize it in any color or style to match your holiday theme. These signs also make thoughtful handmade gifts that show a personal touch.
If you enjoyed this project and want more ideas, follow along on social media for seasonal craft inspiration and step-by-step tutorials on similar DIY holiday decor. Thanks for crafting with me!
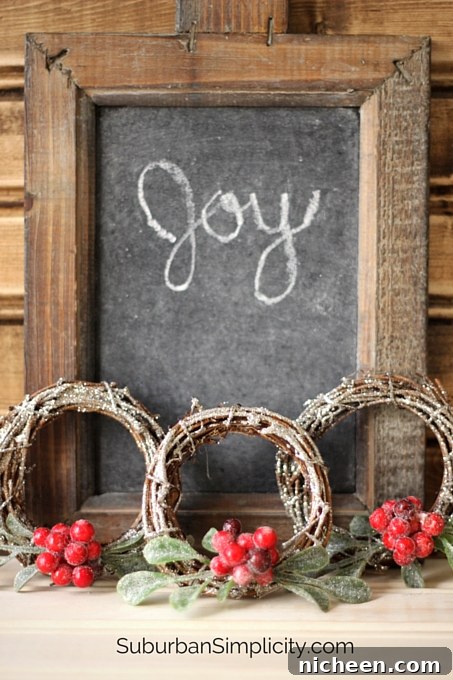
You may also like this DIY on how to make Mini Sparkly Wreaths: