
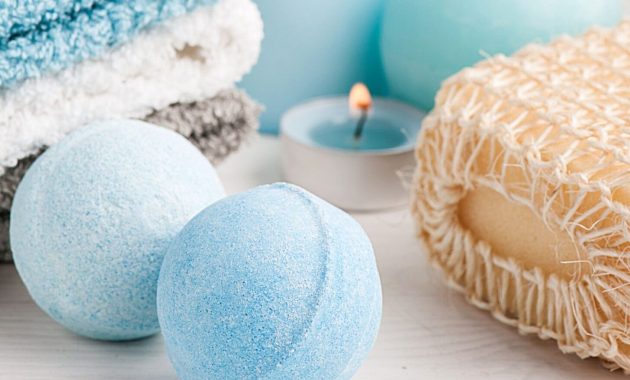
Here is a simple, step-by-step tutorial on how to make a DIY bath bomb recipe (with video). With a handful of inexpensive ingredients, you can create fizzy, fragrant bath bombs to relax with or give as thoughtful homemade gifts.
If you enjoy making bath bombs, you might also like other fun projects such as Donut Bath Bombs or Heart-Shaped Bath Bombs.
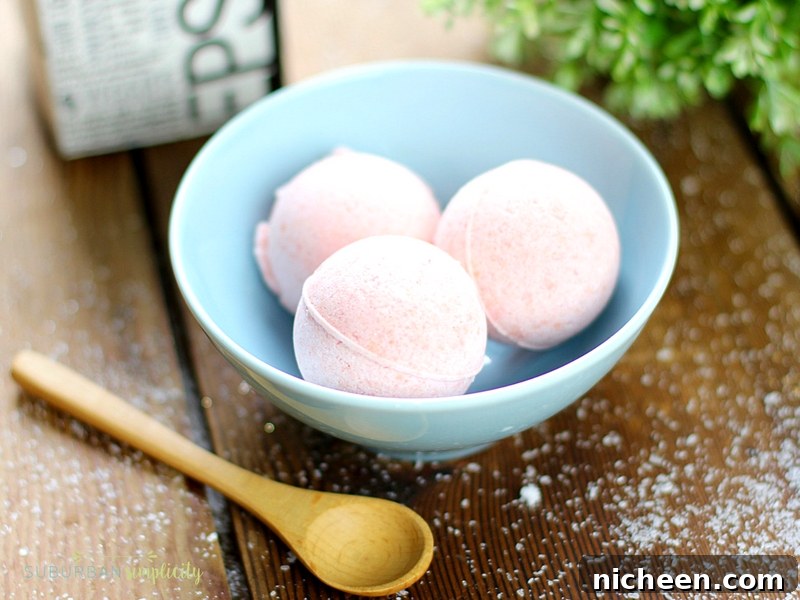
With kids around, craft and beauty DIYs are always a hit. Slime is a popular choice, but homemade bath bombs are another easy, kid-friendly project that offers both creativity and pampering.
These compact, fizzing bath bombs are quick to make and delightful to watch as they dissolve in warm bath water.
Store-bought bath bombs can be surprisingly expensive. High-end boutiques sell individual bombs for several dollars each, so making your own at home is an economical option—and it lets you control the scent and color.
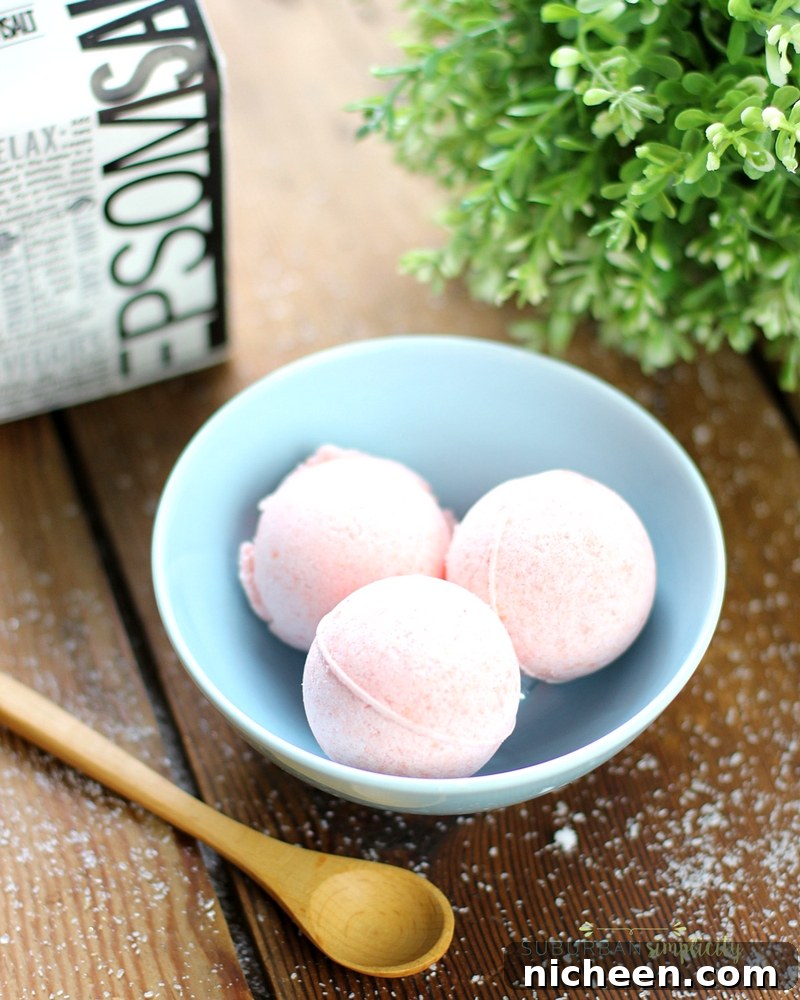
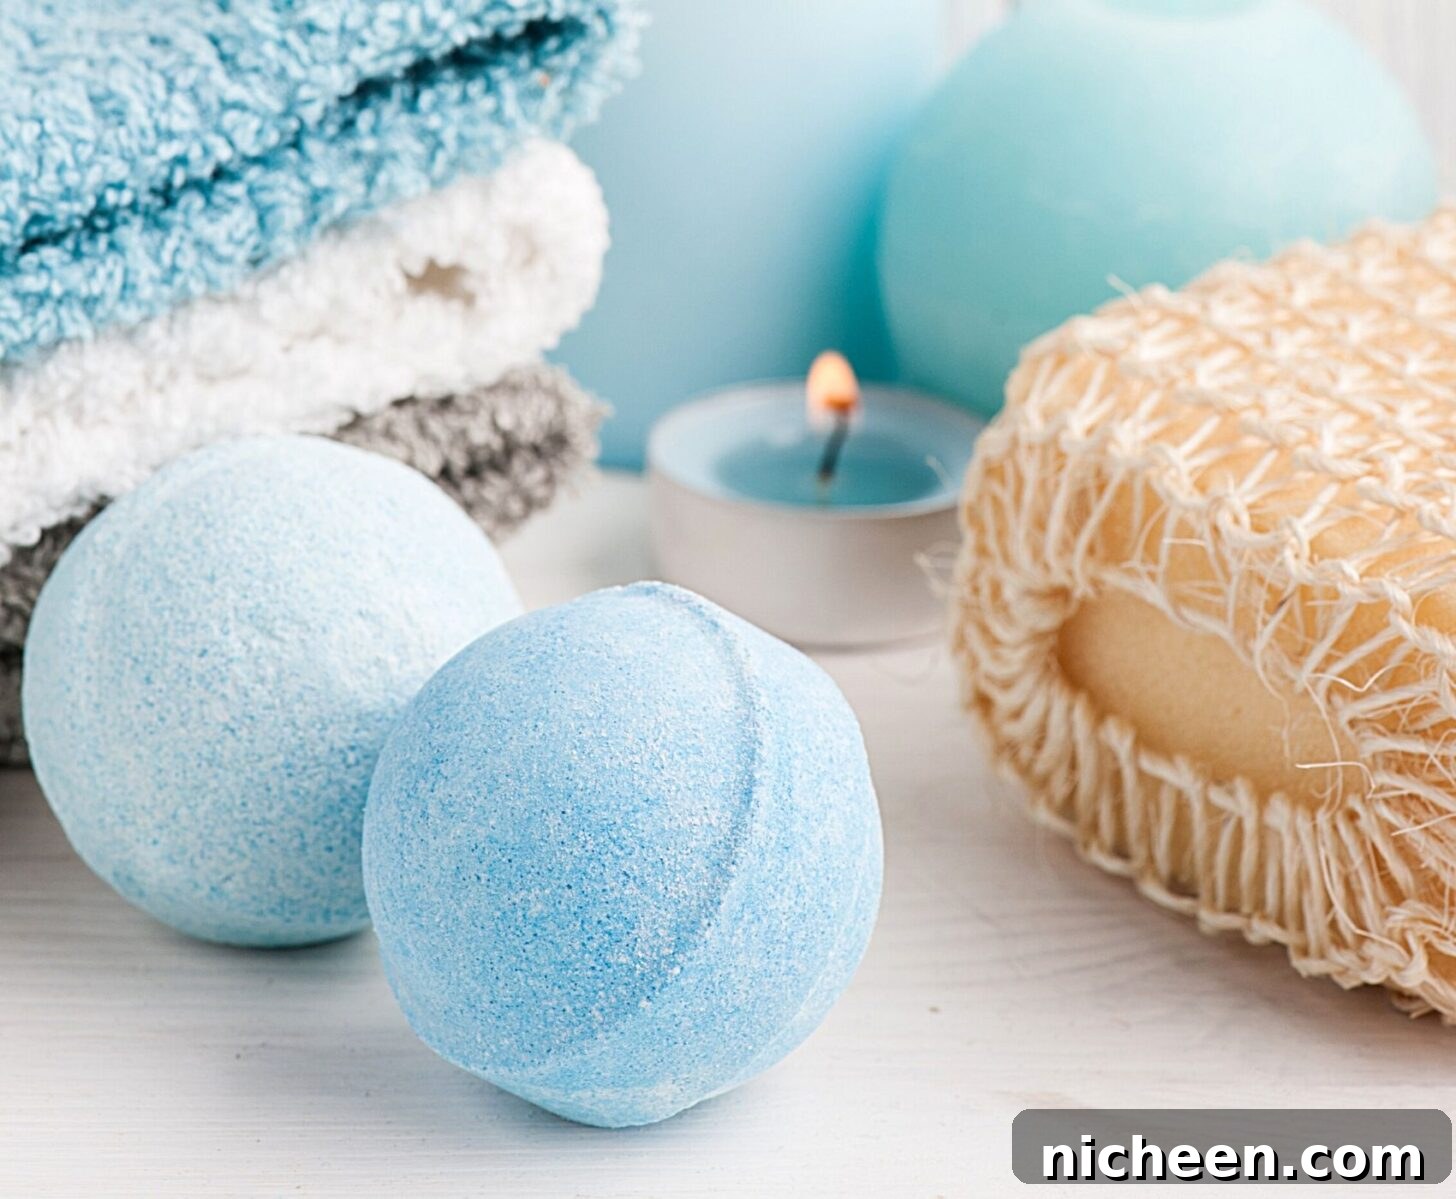
Customize your DIY bath bombs with your preferred colors and essential oil blends. These instructions show pink bath bombs, but you can choose blue, green, purple, or create swirls and layered effects.
If you like DIY beauty projects, try a homemade vanilla brown sugar scrub as well—the ingredients are inexpensive and it’s a luxurious treat for rough patches and dry skin.
Are Bath Bombs and Bath Fizzies the Same?
Yes—bath bombs and bath fizzies are essentially the same thing. Recipe variations exist, but both types react with warm water to produce that characteristic fizz and release scent, color, and skin-conditioning ingredients.
How To Make DIY Bath Bombs
Bath Bomb Ingredients
- 1 cup baking soda
- 1/2 cup citric acid
- 1/2 cup Epsom salt
- 1/2 cup cornstarch
- 1 teaspoon water or witch hazel
- 3 tablespoons carrier oil (olive, coconut, or castor oil)
- Vegetable-based food coloring (optional)
- Your choice of essential oils
Supplies
- Medium mixing bowl
- Whisk
- Small bowl for liquids
- Bath bomb molds (silicone or metal)
Note: Essential oils are recommended for their natural aromatic and therapeutic properties. Fragrance oils can contain synthetic compounds that may be irritating or drying to sensitive skin.
Step 1
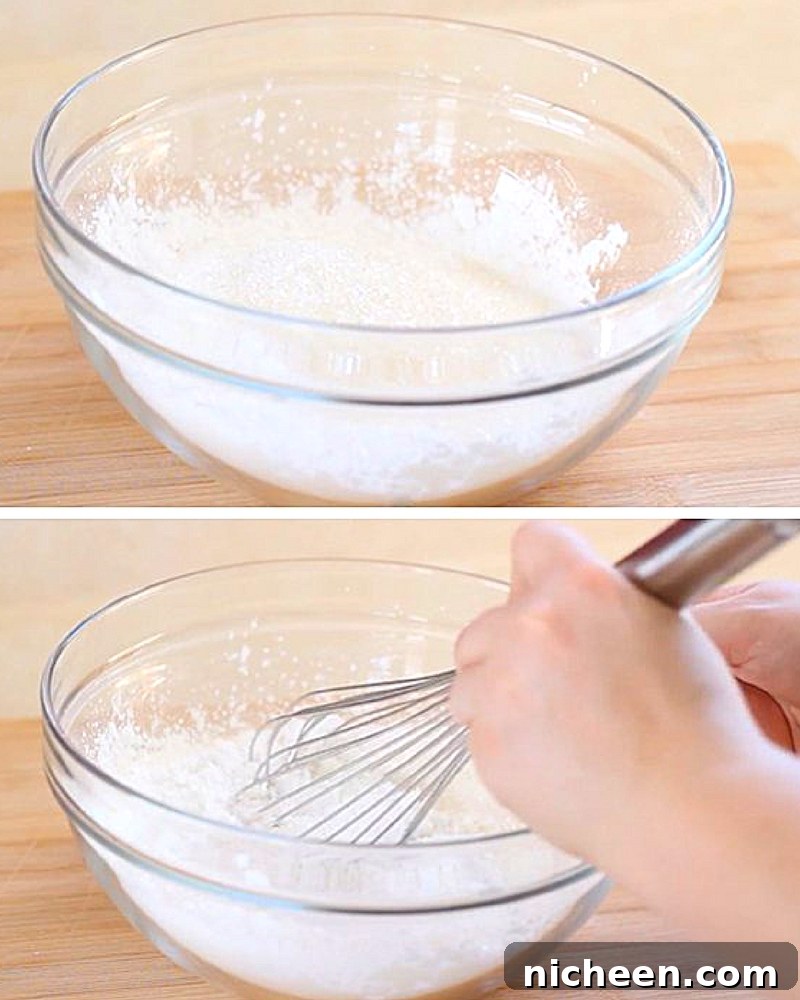
Combine the dry ingredients in the large bowl—baking soda, citric acid, Epsom salt, and cornstarch—and whisk until well blended.
Step 2
In a separate small bowl, mix the liquid ingredients: oil, water or witch hazel, a few drops of food coloring if desired, and your chosen essential oils. Stir until evenly combined.
Step 3
Slowly add the liquid mixture to the dry ingredients a little at a time, whisking gently. Add only enough liquid so the mixture holds together when squeezed—too much liquid will trigger the fizzing reaction prematurely.
Important tip: Add liquids gradually and mix slowly to avoid activating the fizz. Some crafters prefer to use a spritz of witch hazel or a high-proof isopropyl alcohol to moisten the mixture without starting the reaction.
Step 4
Firmly pack the mixture into your bath bomb molds, overfilling slightly and pressing tightly so the mixture binds together. Work quickly so the mixture doesn’t dry before molding.
Allow bath bombs to dry for 24 hours or longer, depending on humidity and size. They should harden before you try to remove them from the mold; otherwise they may crumble. Store finished bath bombs in an airtight container in a cool, dry place.
Storage and Shelf Life
Properly stored bath bombs typically last about six months. Keep them dry to preserve fizz and fragrance.
Tips for Successful Bath Bombs
- Add the liquid ingredients slowly to the dry mix to prevent premature fizzing.
- In humid climates, use 90% or higher isopropyl alcohol instead of water or witch hazel to avoid moisture activation.
- Pack molds firmly—slightly overfilling and compacting gives better results.
- Allow plenty of drying time before unmolding; longer curing reduces the chance of crumbling.
- Tap the mold gently with a spoon to release hardened bath bombs.
- Use vegetable-based food coloring or powder colorants to achieve any hue you prefer.
Why Is My Bath Bomb Popping Open?
Bath bombs that expand or crack in the mold usually contain too much liquid or have been exposed to excess moisture. High humidity or rainy conditions can cause premature fizzing while molding. If this happens, try switching to 90% or higher isopropyl alcohol as your liquid to minimize activation.
What Can I Use As Bath Bomb Molds?
If you don’t have a traditional bath bomb mold, you can improvise with:
- Ice cube trays
- Measuring cups
- Muffin tins
- Your hands to shape balls
- Cookie cutters (for more experienced makers)
How to Use a DIY Bath Bomb
Fill the tub with warm water, drop in a bath bomb, and enjoy the fizz and fragrance. Soak for 20–30 minutes for a relaxing, skin-softening bath.
Why Use Cornstarch in Bath Bombs?
Cornstarch contributes a smooth, silky feel to the bath water and helps condition skin, leaving you feeling soft after your soak.
This post was originally published in March 2018 and updated in June 2019.