
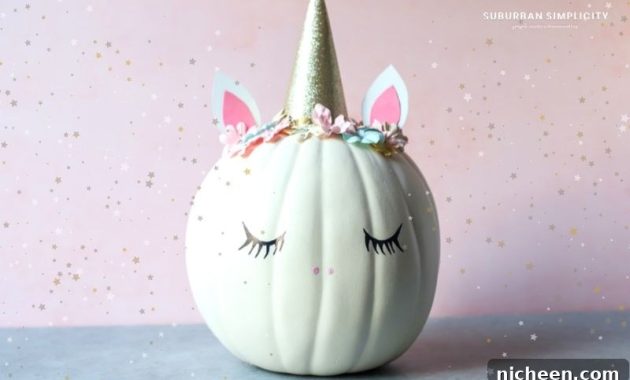
This easy, step-by-step tutorial shows how to make a charming no-carve Unicorn Pumpkin. This kid-friendly DIY is simple, affordable, and so cute you’ll want to display it all year. It’s perfect for porches, playrooms, or as a fun craft project with children (with adult supervision for hot glue use).
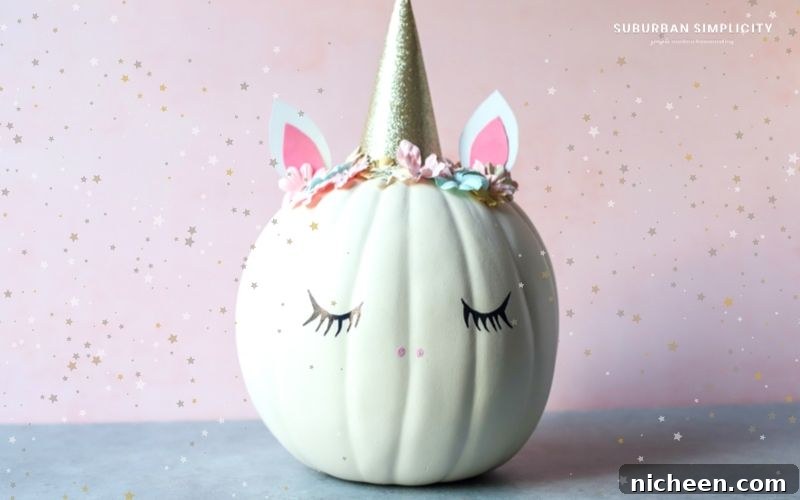
Pumpkin decorating doesn’t have to involve carving or a big mess. This unicorn pumpkin is a no-carve option that looks polished and magical. With a few basic supplies and a bit of creativity, you can create a whimsical decoration that kids will adore and that makes a delightful centerpiece for seasonal displays.
Supplies Needed to Make a Unicorn Pumpkin
- Faux white pumpkin (or a real white pumpkin if you prefer)
- Gold glitter paper or metallic cardstock
- Glue gun and glue sticks (use with caution)
- Pink paper or cardstock
- White paper or cardstock
- Black permanent marker (Sharpie)
- Pencil
- Pink marker or touch-up paint for rosy cheeks/nose
- Paper flowers in assorted colors and sizes
- Scissors
Most supplies can be found at local craft stores or online. Opt for lightweight faux pumpkins for easier handling and longer display life.
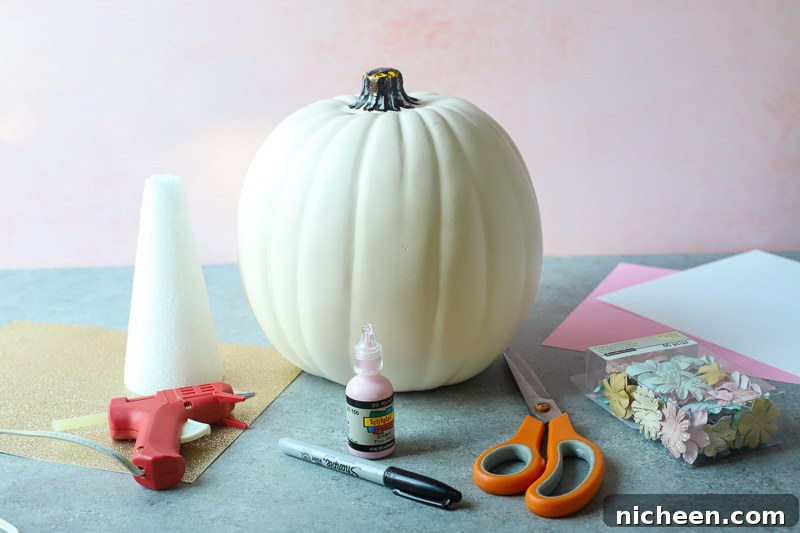
Tip: Because this project uses a hot glue gun, supervise children closely or have an adult do the gluing. Allow glue to cool completely before letting kids handle the finished pumpkin.
How to Make a Unicorn Pumpkin
Follow these simple steps to assemble a beautiful unicorn pumpkin. You can adapt colors and flower choices to match your décor or to give each pumpkin its own personality.
Step 1 – Make the Horn
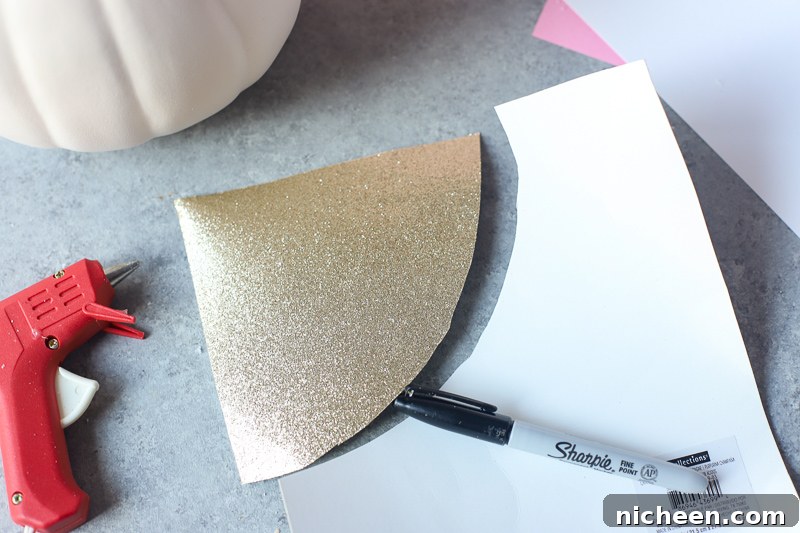
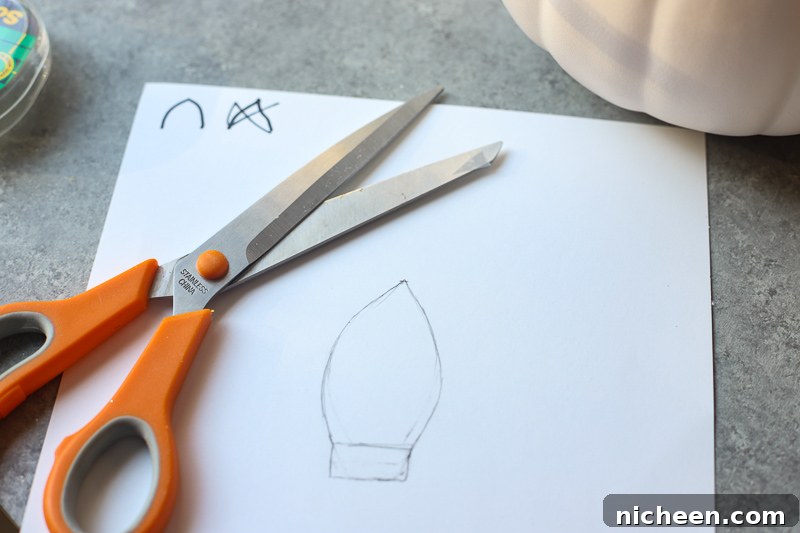
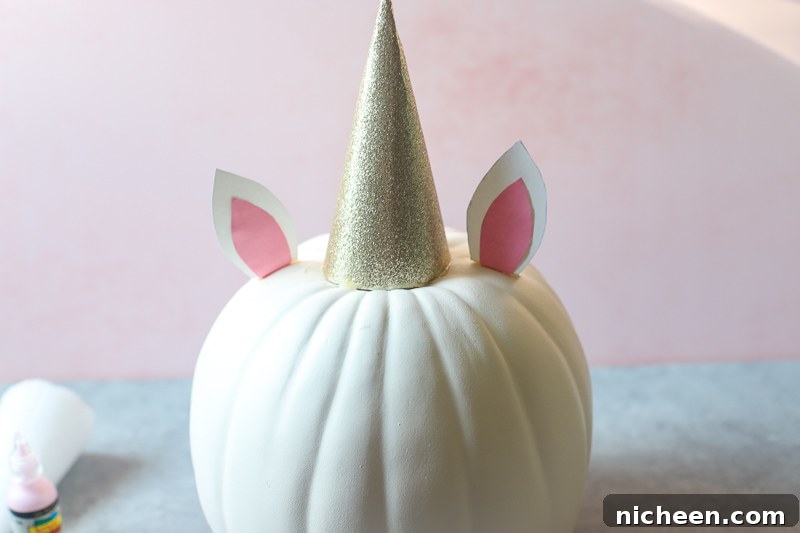
Cut a wedge or arch shape from the gold glitter paper. Roll the piece into a cone and glue the seam with hot glue or strong craft glue. Trim the base of the cone if needed so it sits flat on the pumpkin’s top. Position the horn centered above where the face will be; if your faux pumpkin has a stem, the horn can sit around or over that stem for extra stability. As an alternative, cover a small styrofoam cone with glitter paper for a sturdier horn.
Step 2 – Create the Ears
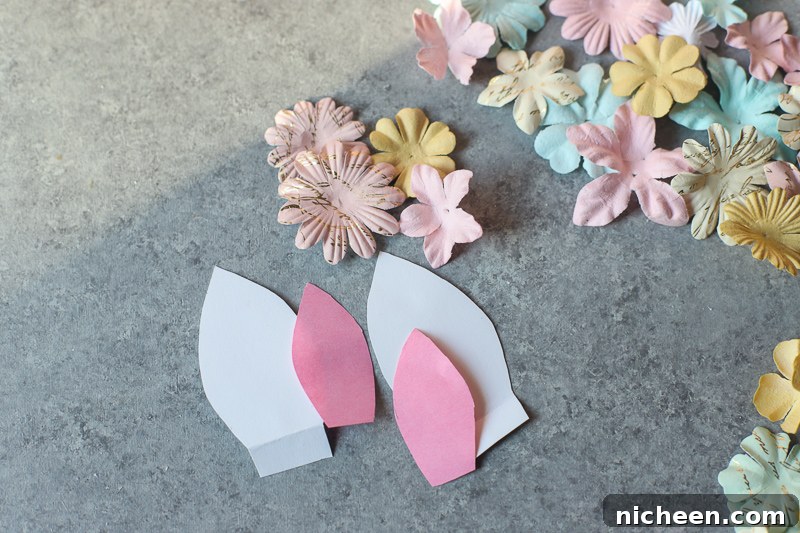
Draw a simple ear shape on white paper or cardstock, allowing a small tab at the bottom that can be folded to glue to the pumpkin. Cut out two matching ears by tracing the first. For inner ear detail, fold pink paper in half, trace one ear shape slightly smaller, and cut to create two matching pink inner ear pieces. Glue the pink inner ears onto the white ears, then fold the bottom tabs and attach the ears to either side of the horn so they frame it nicely.
Step 3 – Arrange and Glue the Flower Crown
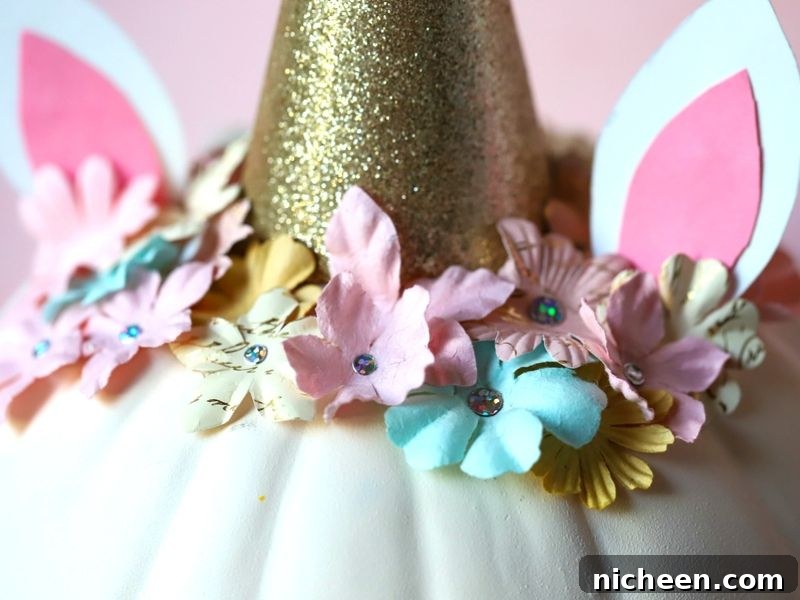
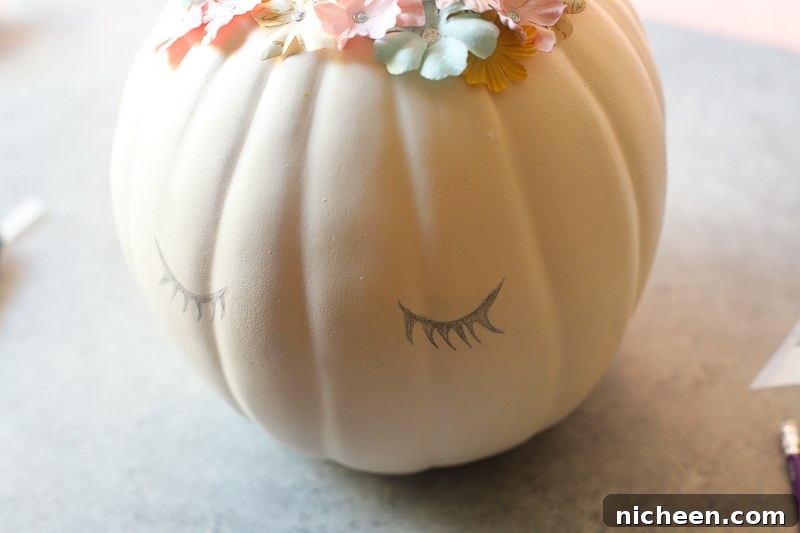
Select paper flowers in varying sizes and colors to create a fuller, more textured crown. Start gluing flowers around the base of the horn and between the ears. Layer smaller blooms in front of larger ones and offset colors for visual interest. Keep stepping back to check balance; once the crown looks full and even, stop adding flowers. Avoid crowding the eyes area so the face remains visible.
Tip: Mix sizes and hues to add depth—small filler flowers and a few bold blooms give the best effect.
Step 4 – Add the Face
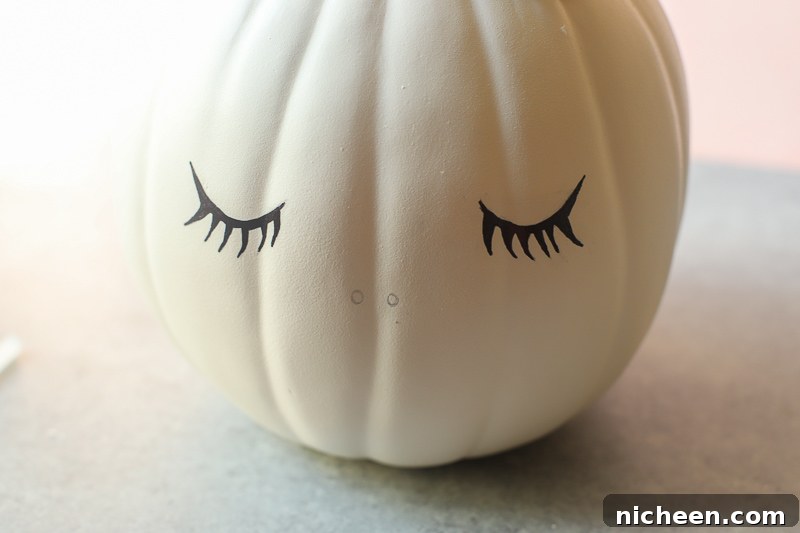
Lightly sketch the eyes and eyelashes with a pencil so you can adjust spacing and shape. Once satisfied, trace over the pencil lines with a black permanent marker to create long, curved eyelashes for a sweet, sleepy look. For the nose or nostrils, add two small pink dots slightly below the eyes using a pink marker or paint to suggest a unicorn muzzle. Keep the features simple and spaced to maintain a whimsical, cartoon-like style.
Finishing Touches and Display Ideas
Once the glue has cooled and the marker is dry, place your unicorn pumpkin on a table, porch step, or mantel. Pair several pumpkins with different flower crowns for an eye-catching display. Consider adding a ribbon around the base or a small fairy light tucked into the flower crown for evening charm. If you used a real pumpkin, keep it indoors or in a cool shaded area to prolong its life; faux pumpkins can be stored and reused year after year.
This project is adaptable—try pastel glitter paper for a softer horn, use silk flowers for a longer-lasting crown, or add a small name tag to personalize each unicorn for a party or classroom activity.
Follow us on social media for more crafts, recipes, and DIY ideas: Facebook, Twitter, Instagram, Pinterest.
Read Next: Easy and Adorable Bat Bites