

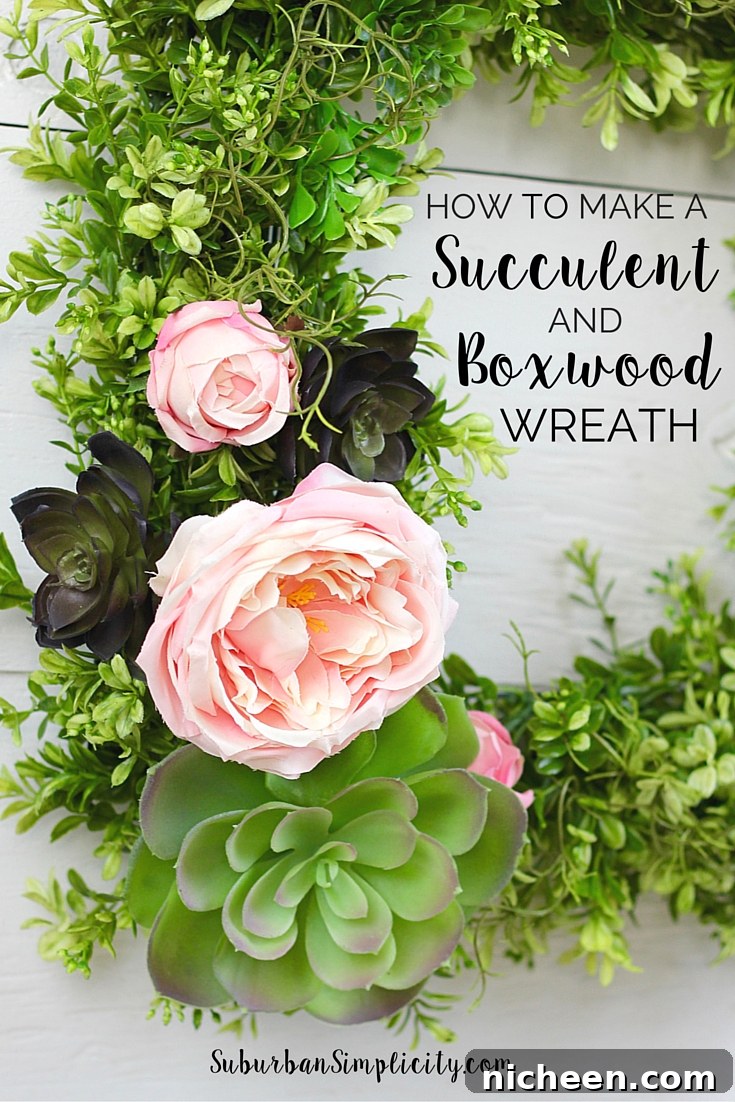
Boxwood wreaths bring warmth and timeless charm to any room. This clear, step-by-step tutorial explains how to create a succulent and boxwood wreath using faux boxwood garlands and faux succulents—an attractive, low-maintenance option that works year-round.

A faux boxwood wreath gives you the full look of fresh greenery without the upkeep or the expense of replacing a real wreath in time. Adding faux succulents and a few floral accents elevates the texture and visual interest while keeping the design easy to care for and long-lasting.
This project is fast, adaptable, and budget friendly. You can customize the colors and embellishments to match seasonal decor—swap florals for burlap or ribbon for a farmhouse feel, or choose bright blooms for spring and soft neutrals for a year-round classic.
This post contains affiliate links.
SUPPLIES NEEDED
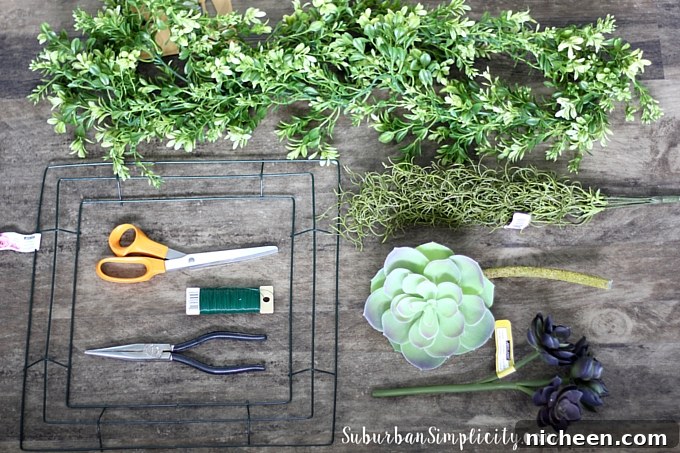
- Wire wreath frame (round or square)
- Floral wire
- Floral wire cutter
- Scissors
- Large faux succulent
- Medium faux succulents (2)
- Boxwood garland (2 strands)
- Decorative flowers or accents (optional)
INSTRUCTIONS
Project difficulty: EASY. Total assembly time: about 15–30 minutes depending on placement and customization.
Step 1 — Prepare your supplies
Gather everything on the supplies list and clear a workspace. Use the wire cutters to pre-cut several 4-inch lengths of floral wire; having them ready makes attaching the garland and accents quicker and neater.
Step 2 — Attach the boxwood garlands
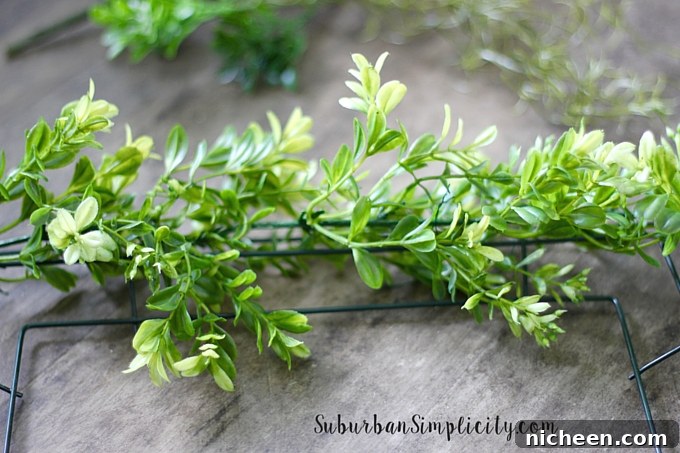
Lay the first strand of boxwood garland over the wire frame, tucking the garland between the metal ribs. Secure the garland by wrapping a short length of floral wire around the garland and frame—twist firmly so the greenery won’t shift. Continue around the frame until the first garland is fully secured, then repeat with the second garland to create full coverage.
Tip: Space wire ties roughly every 6–8 inches for an even, secure hold and to avoid gaps.
Step 3 — Fluff and shape the greenery
Once both garlands are attached, fluff and arrange the stems so the boxwood covers the metal frame completely and looks full from every angle. Rotate the wreath as you work to ensure consistent density and to hide any exposed wire.
Step 4 — Add moss or filler
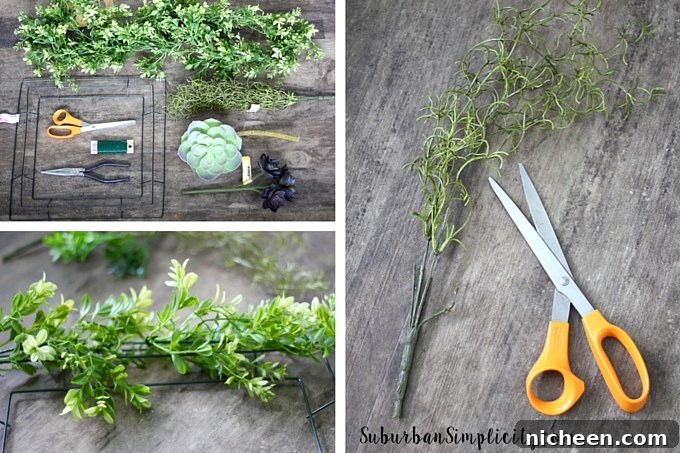
Cut small pieces of preserved or craft moss and tuck them into the boxwood where you want more texture. Secure ends or larger pieces with floral wire from the back of the wreath. Some moss can hang slightly for a natural, organic look.
Step 5 — Position and secure succulents and flowers
Trim long stems from the faux succulents so each piece sits flush in the wreath and won’t poke through to the back. Group the largest succulent and any focal flowers at one lower quadrant of the wreath for a pleasing asymmetrical look. Arrange the medium succulents and any additional florals in a loose triangular cluster around the focal piece.
Attach each accent from the back of the frame with floral wire. Wrap wire tightly and tuck ends so they aren’t visible. Adjust stems until the arrangement looks balanced and secure.
Step 6 — Add a hanger and final touches
Create a small loop of twine or ribbon and tie it to the top center of the wire frame for easy hanging. Step back and inspect the wreath—fluff boxwood, reposition accents, and trim stray pieces to achieve a polished finish.
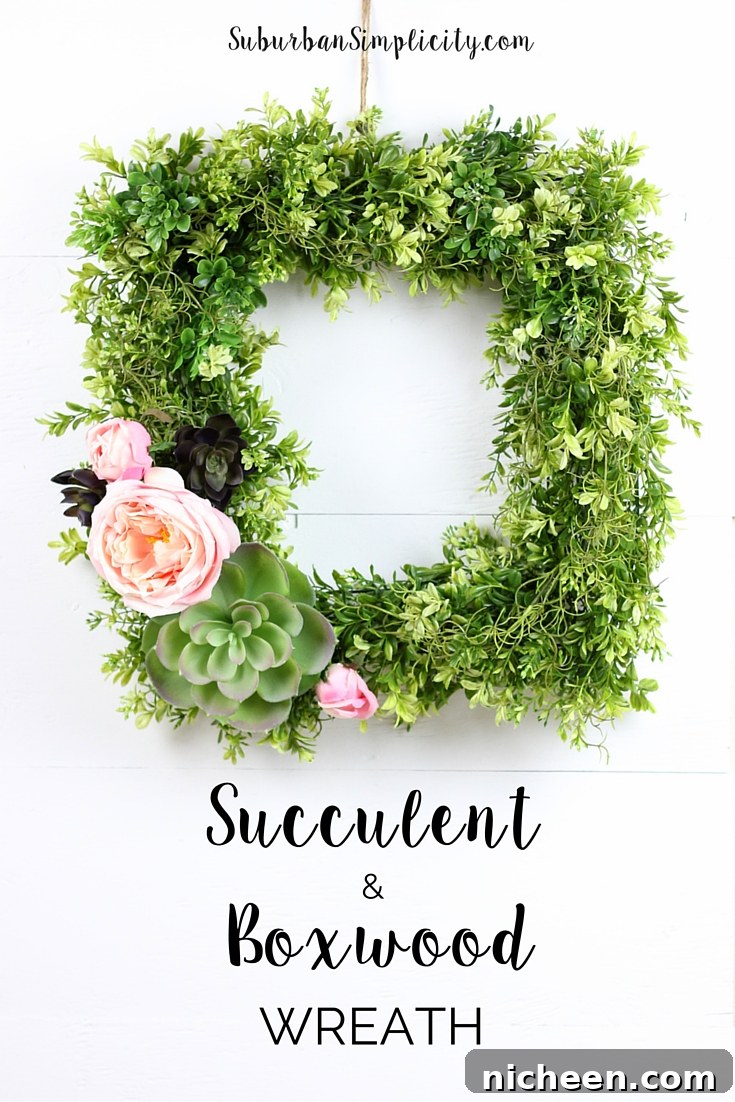
This succulent and boxwood wreath can be assembled quickly and adapted to suit any decor style. Use bright faux blooms for a spring or summer display, neutral botanicals for a year-round look, or burlap and dried stems for a rustic accent. Because the materials are faux, the wreath requires no watering or special care and will last indefinitely with minimal maintenance.
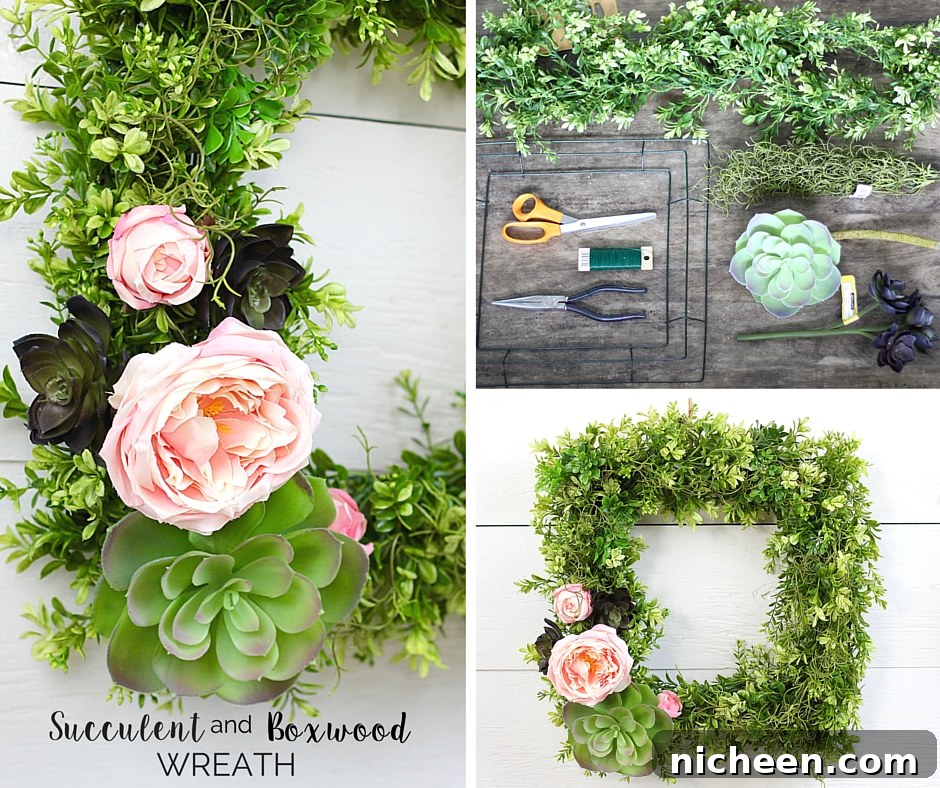
Display your wreath above a mantel, on an interior or exterior door, leaning on a shelf, or over a window to add instant texture and greenery. This DIY faux boxwood wreath with succulents makes a thoughtful housewarming gift and can be refreshed seasonally by swapping out the floral accents.
Enjoy creating your succulent and boxwood wreath—simple supplies, quick assembly, and beautiful results.
FOLLOW US on Facebook, Twitter, Instagram, and Pinterest to see more DIY projects, crafts, and home decor ideas.